How To Install Motorcycle Heated Grips
So, you are more than just a fair weather rider, or you ride in an area, such as Utah, where a days riding could send you from triple-digit heat to snow-on-the-side-of-the-road cold.
Carrying multiple pairs of gloves is a pain, besides you have to stop to swap them out, and if it warms up, you have to stop and repeat the process all over again. I hate that. But I also hate cold hands. So unless you own a bike that came from the factory with heated grips you suffer through it, right? Wrong.
Any bike can have heated grips fitted for less than a good pair of warm riding gloves. Plus, you can turn them on or off at whim. Adding heated grips is something that we CanyonChasers do to all of our bikes!
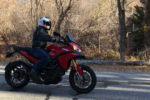
Few things are as nice as riding along the coast or a mountain pass, the temperature drops and to combat it, simply reaching for a small toggle and choosing either high or low for your hands happiness. Surprisingly, having warm hands makes a much bigger difference on overall comfort than you would think.
But installing heated grips sounds hard, and you’ll have to monkey with your bikes wiring. Well, never fear! We’ve assembled a step-by-step, with pictures to help walk you through the process.
We’ve already detailed the installation of in-bar heated grips, but they won’t work on bikes with clip-on handlebars. So this is a much cheaper under-grip heated grip system that still allows you to use whatever hand-grips you prefer.
We strongly recommend this mod to be done alongside with our Relay/Distribution Block mod. This helps prevent accidental battery discharge should you forget to turn off the grips when you park your motorcycle.
Parts & Supplies
- Mini 3-Pole Toggle Switch.
- Heat Demon External Motorcycle Grip Warmer Kit.
- Red 18guage Wire
- Black 18gauge Wire
- White 18gauge Wire
- Any third color wire you’d like – we use blue.
- Small Zip Ties
- Electrical Tape
- Heat Shrink Kit
- Liquid Tape
Recommended Tools
The kit comes in a couple variations. An ATV version that warns against installing on motorcycles and a motorcycle-specific version that costs a few dollars more.
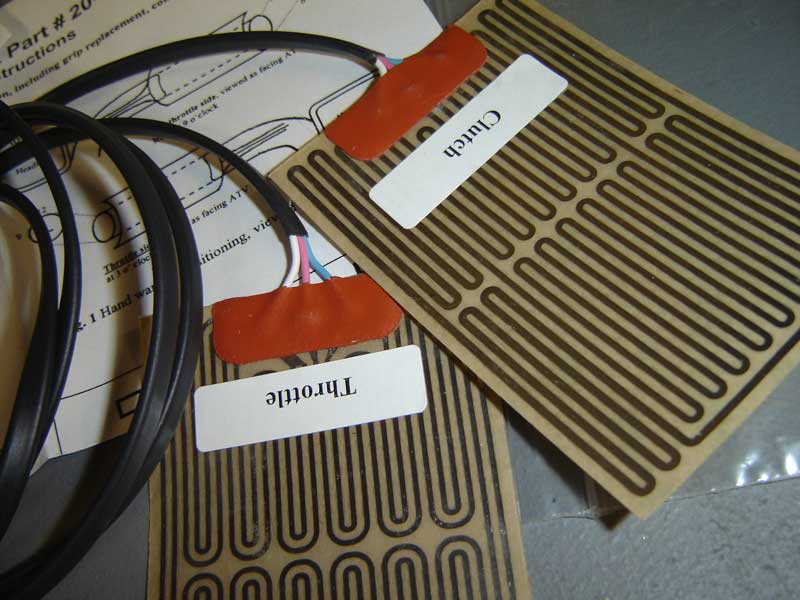
We’ve purchased both and have found the only difference to be throttle/clutch specific heating elements on the motorcycle-specific version. This is done to facilitate the fact that your throttle side handgrip is thinner than the clutch side handgrip because of the plastic throttle tube. Oodly, the motorcycle-specific version cost, in our case, $10 more than the ATV version. Additionally, unless you are really persnickety about both hands warming up at the same rate, we saw no advantage to the motorcycle-specific version. In fact the clutch side heating element appears to output less heat than the ATV version. So, in other words, just buy the ATV version and save your beans.
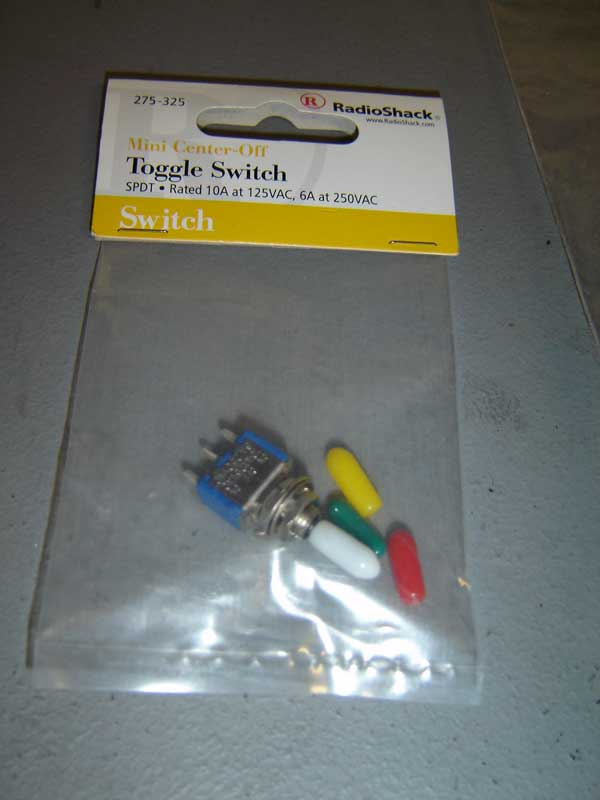
The kit contains all sorts of additional bits that you’ll just throw out, including a yellow wire, some male/female wire clips and the largest three-way switch known to man. The three-way switch would be enough to discourage most aesthetic conscious motorcycle owners who do not want the look of their svelte bike marred by a huge switch. However, any smaller mini center-off toggle switch will solve that.
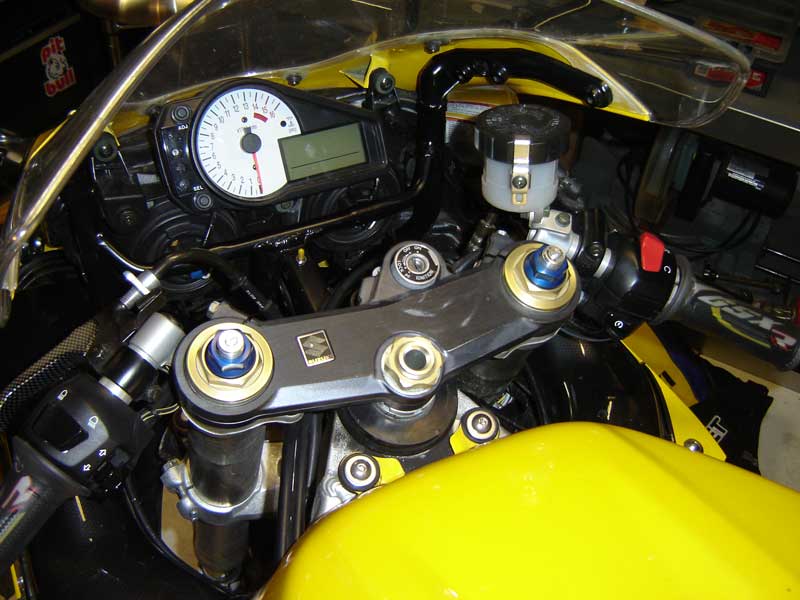
Before we start, we like to spend a fair bit of time with a cool beverage of choice looking at the cockpit of the bike that’s getting the heated grips. This is to give me ample time to think of places to put the three-way switch. We’ve plased the switch in a myriad of subtle locations that make it so it’s almost impossible to tell the bike has been altered in any way. Every bike will be different, and the fun part will be deciding where to put the switch.
Once you decide, you can start disassembling the bike as needed to gain access. Naked bikes are easy as very little has to be removed and the job can be done is about an hour. Full-faired bikes, like our donor-cycle GSX-R 750 required full bodywork removal. In fact, we spent more time removing all the bodywork than we did actually installing the grips.
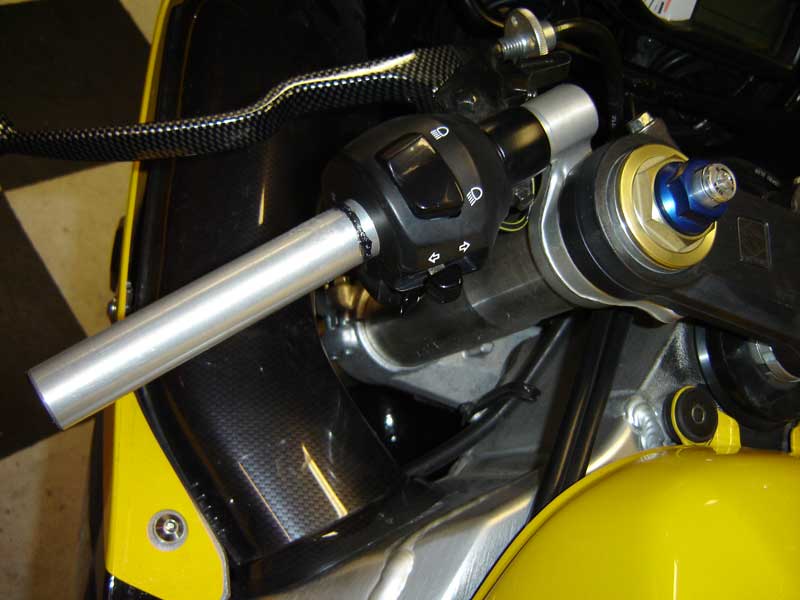
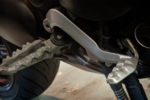
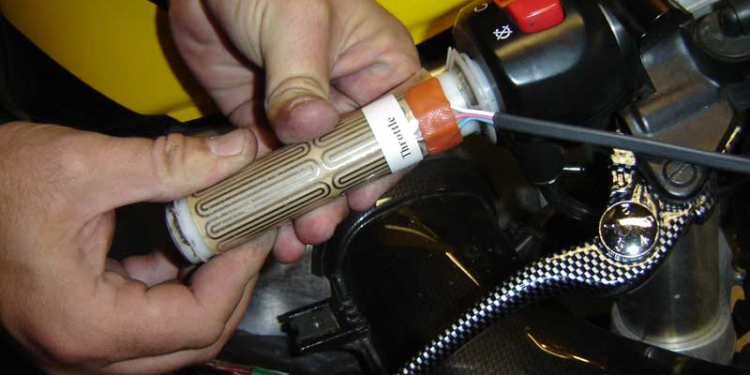
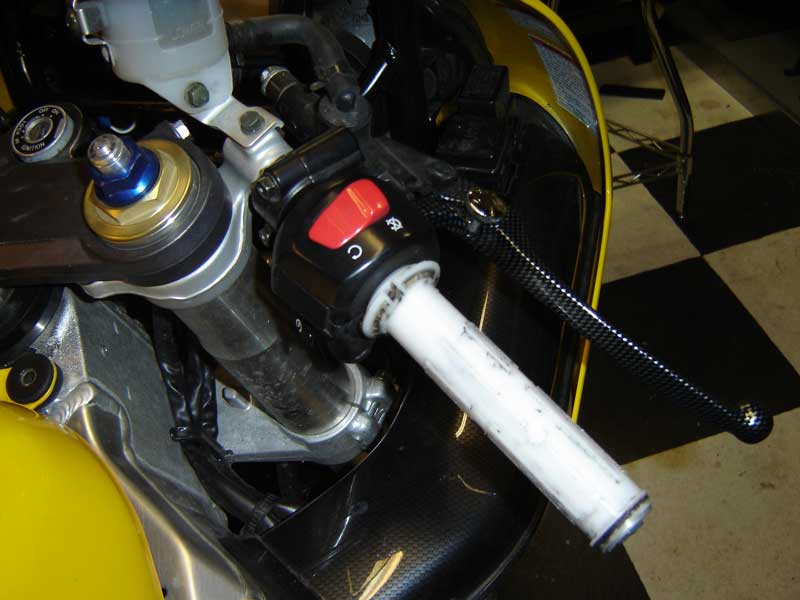
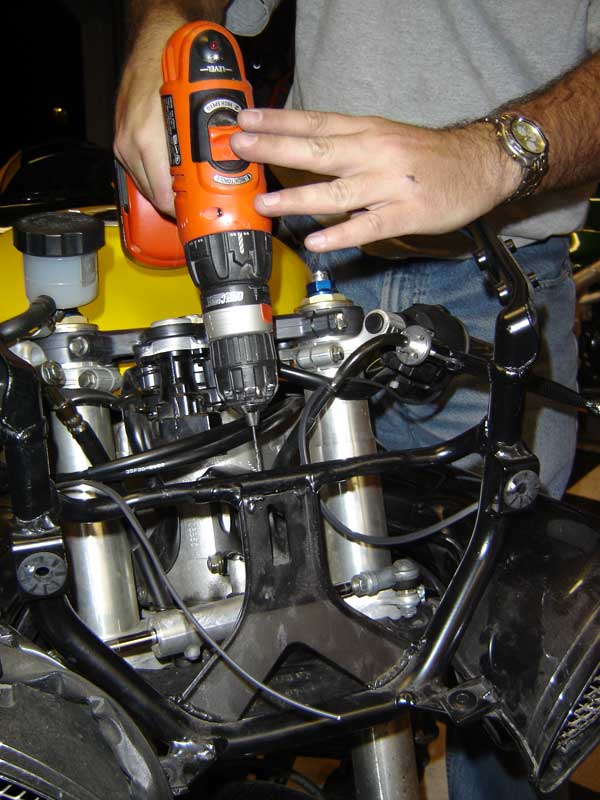
First, remove both handgrips. Compressed air makes this a lot easier as you can just burp them off the bike. The clutch side is really easy, but the throttle side will require a bit more finesse because the plastic throttle tube has nubs to hold the grip in place.
The heating elements have a sticky backing. Install them with the seam/gap just below where the heel of your hand will be during riding.
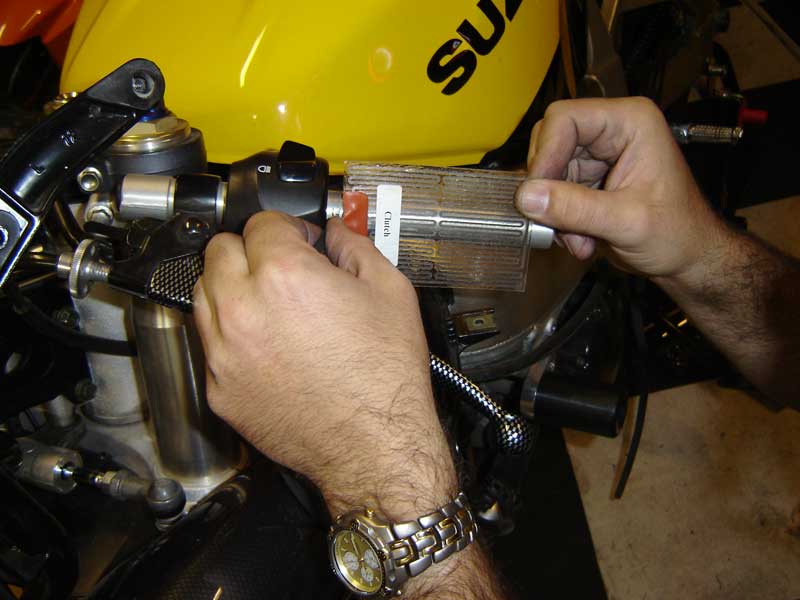
Also, be very careful with the wire. They need to be towards the switch-gear, but too much manipulation could result in damaging the heated-grips. Again, the clutch side is easier because you do not need to worry about the grip needing to rotate.
If you have aluminum bars, you may want to put a few wraps of black electrical tape around the aluminum on the left side of the bar (non-throttle hand), then install the heating elements on top of the electrical tape. Aluminum is a very efficient conductor and will heat-synch a lot of the heat away.
After you affix the grips, wrap the lead wires once-around the handlebar then secure them in place with a wrap or two of electrical tape. This prevents any unnecessary movement and potential damage to the wire leads.
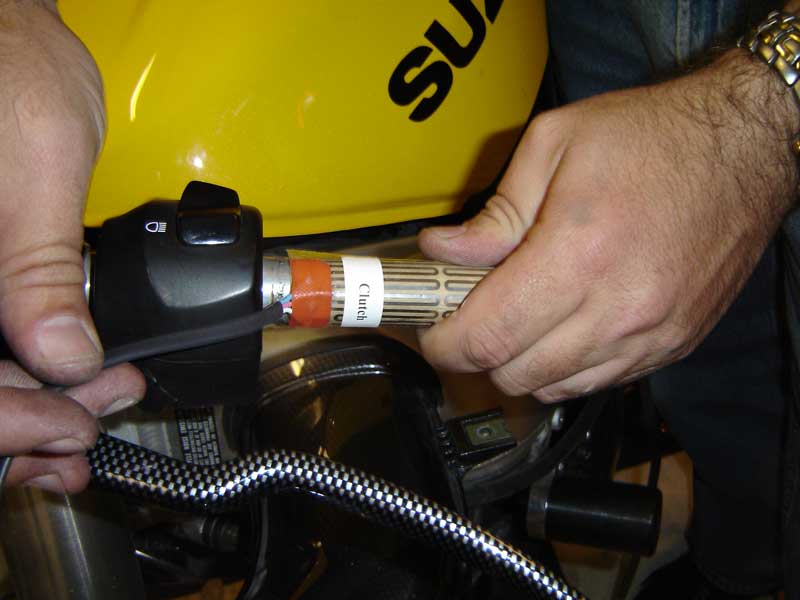
Once you have the heating elements in place, loosely route the wires where you’d want them to be. Try to run them along any existing wires/cables. If you are careful and thoughtful, you’ll never notice the wires are even there. Also, be sure that you have plenty of slack on the throttle side to allow for full throttle movement. Check and double check by twisting the throttle and releasing with the handlebars turned full lock to the left and the right to ensure there is no binding!
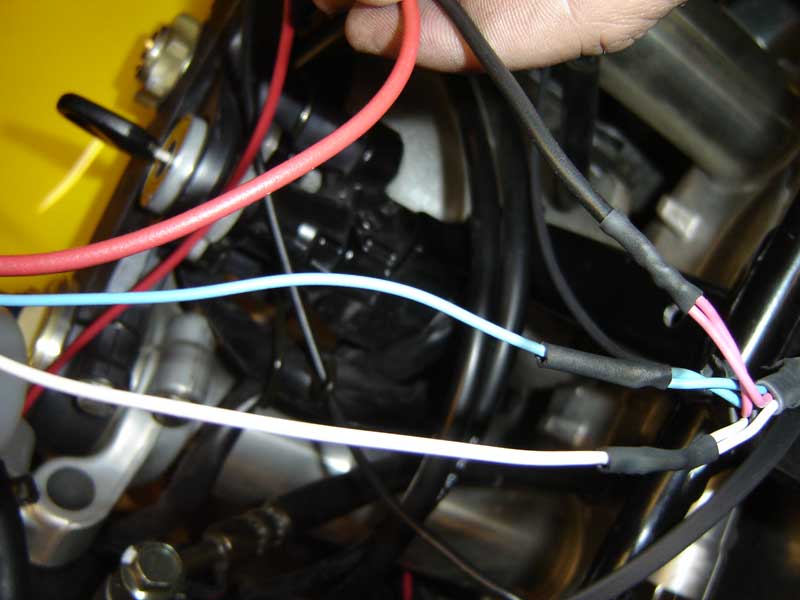
Then the wiring part; each grip has three wires going to it. Typically there will be a white, a blue and a red wire. Because you have already loosely routed your wires, you’ll know how much wire you’ll need. I like to try to keep both wires a close to the same length as is reasonably possible. Then connect the two sides together; white to white, blue to blue and red to red.
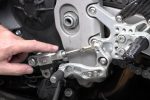
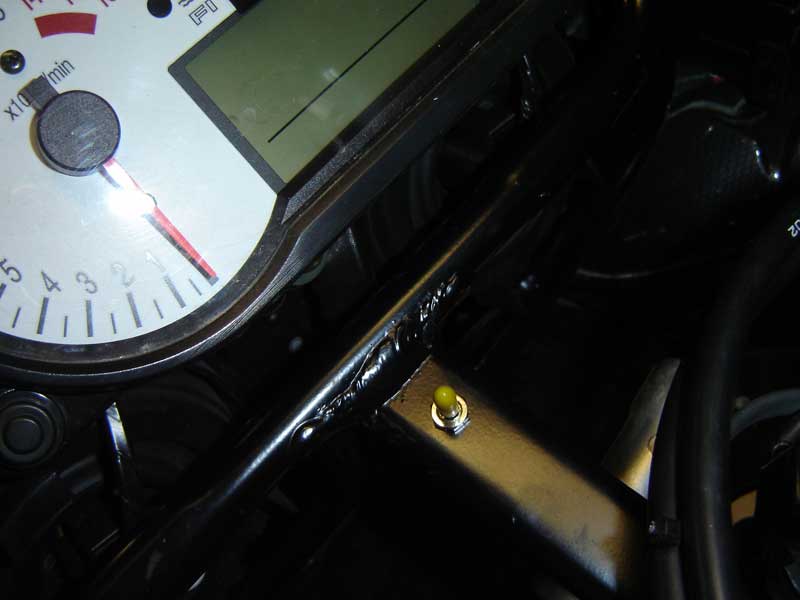
Then take out the switch, and since you know where it’s going to be located, you’ll know how much wire you’ll need there. This is also a good time to make any modifications to the bike for you to install the switch. On our GSX-R, we found a great location in the center of the fairing stay that allowed for subtle wire routing and easy access to the switch.
A quick note on how the switch works. The center position is off, and if the switch is toggled to the left, it will connect to the lead on right. Conversely, if it is in the right position, it activates the left lead. This is good information so you’ll know which way will be high and which way will be low-heat and will be able to install the switch how you want. We prefer switching the left for low and to the right for high or up for high and down for low.
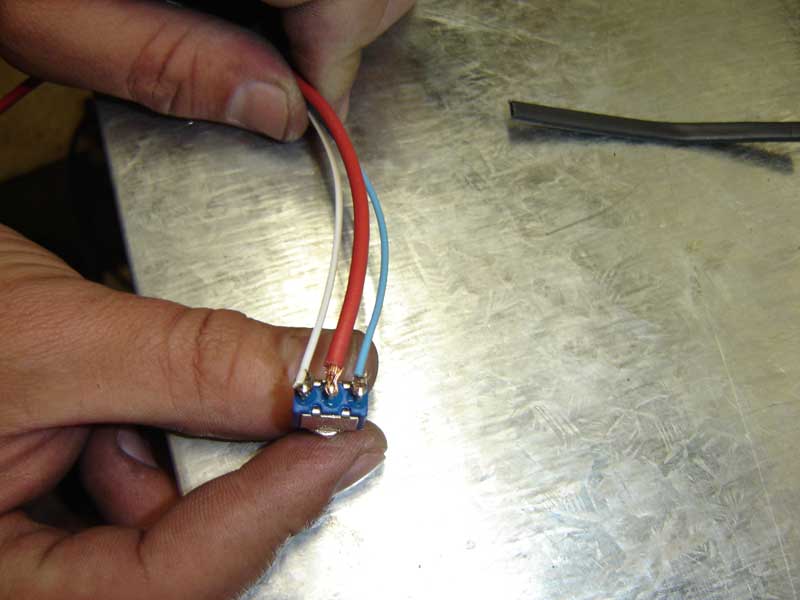
Solder three wires to the leads of the switch. The center post of the switch will be the positive connection. This is why we recommend using your own red wire. In this picture you can even see how the red wire is of a thicker gauge than the two side wires. Thicker wire is more efficient than thin wire.
Once all three wires are soldered in place, use liquid tape to really goop up and somewhat seal the bottom of the switch from weather or moisture, as well as prevent accidental shorts.
Back to the wires on the bike; the red center wire becomes the negative or ground wire. This is where suggest using your own black wire to avoid all confusion. The two red wires become one solid black wire.
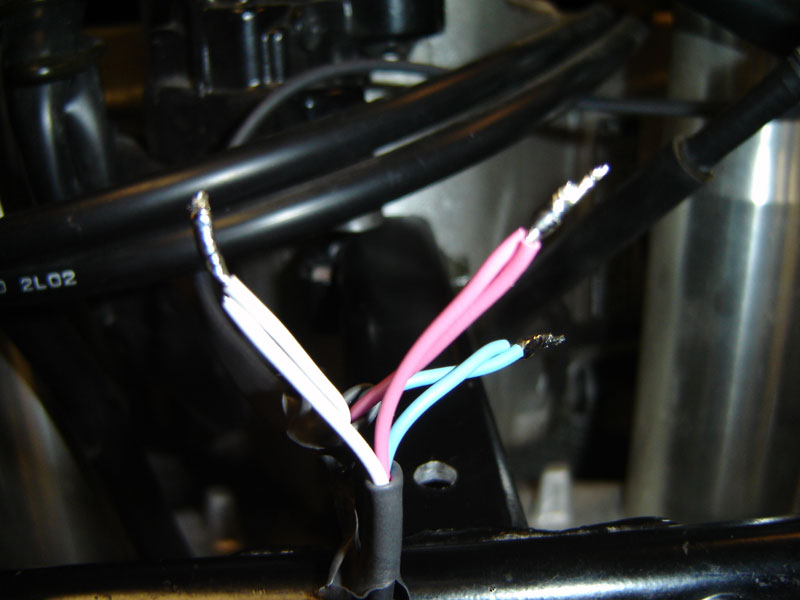
From here, the wiring gets easier. Connect the blue wire to the blue, the white wire to the white. Use enough solder to ensure a solid, strong connection and then heat-shrink all of the connections to prevent accidental shorts or moisture from getting into my connection. Besides, it looks a lot tidier than electrical tape.
Some people have thought it to be a good idea to connect the high and low circuits of grips together so that when they are set to high, both heating elements are active. In every case, this has been met with disaster. Either the wire leads get too hot and melt, or they build up so much heat they melt the handgrips and have even burned hands. We can assure you, the high setting is plenty hot and in most cases, the high-setting is too hot for most riding conditions. Wire your grips appropriately for best results.
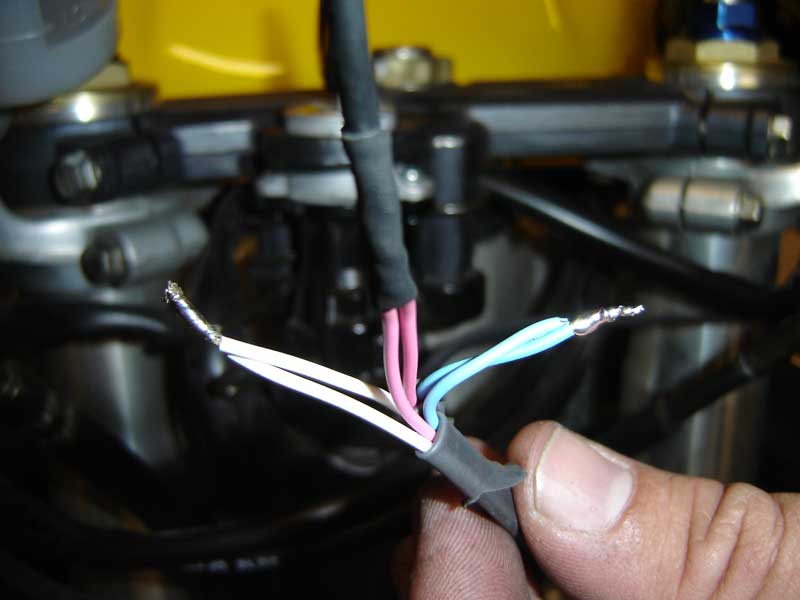
Once all the wires are soldered and sealed, take the electrical tape and wrap the whole thing into single lines.
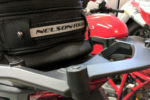
This makes things cleaner and easier to keep track of. Take this opportunity to route your black and red wire underneath the gas tank towards the battery or your distribution block.
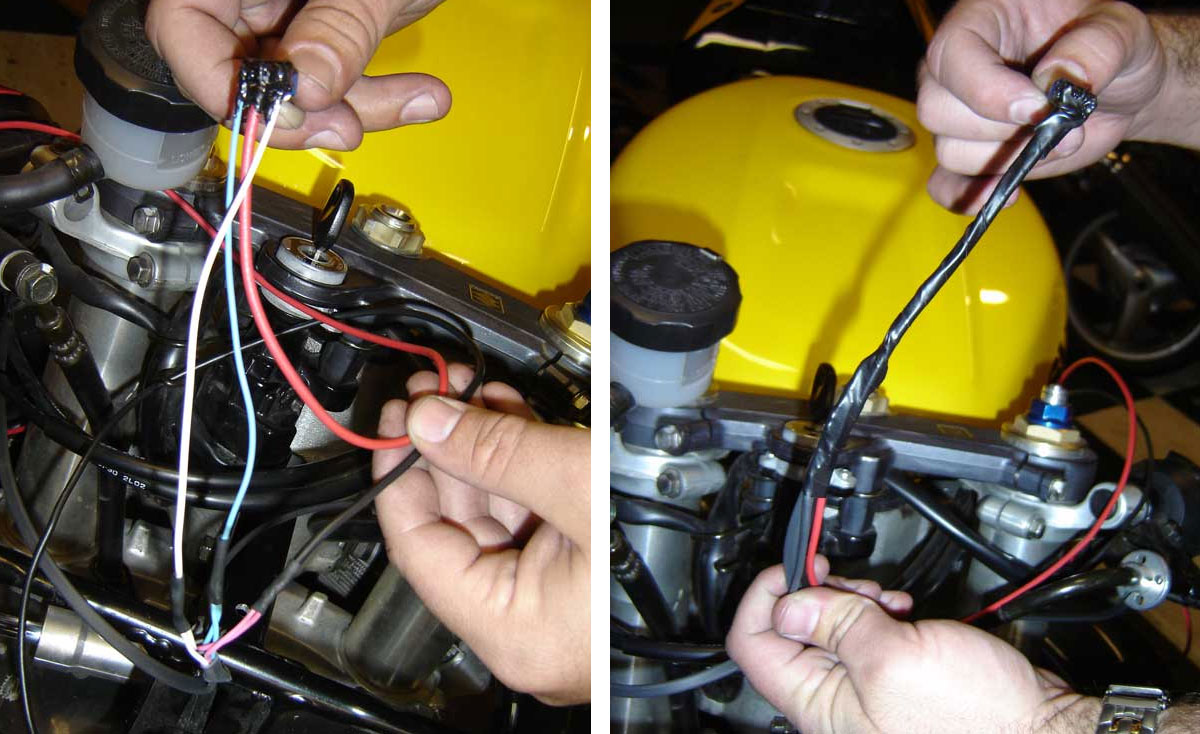
Since all the wires are soldered and sealed, take the electrical tape and wrap the whole thing into single lines. This makes things cleaner and easier to keep track of. Take this opportunity to route your black and red wire underneath the gas tank towards the battery or your distribution block.
Optimally, a relay is the best way to go for accessories. That way when you turn off the key, the accessories turn off. Connecting directly to the battery can result in accidentally leaving the accessory on and coming back to your bike to find a dead battery. If you do not have a relay or don’t want to mess with a relay, you can connect your red wire to just about any wire that is live when the key is on, and dead when the key is off, such as the license plate running light. Just be warned that you may overwhelm the fuse for whatever you hook up to; which is why a relay and distribution block is the best option.
NOTE: A relay/distribution-block allows the rider to hook up multiple items at one place and have the all the accessories turn off with the key. A relay/distribution block typically runs directly off the battery with the relay getting its power from a running light or other switched source. Because the relay has virtually no draw, there is very little risk of overwhelming fuses. And because the distribution block and all the accessories get their power directly from the battery there is very little chance for damage to other electrical components.
Also, most bikes generate far more electricity than the bike needs; enough to have the ability to run two heated vests and a set of heated grips without putting any undue strain on the electrical system. However, every bike is different and you should check to be sure your bike can handle the added electrical workload. We’ve yet to find any bike that did not have a strong enough system to handle heated grips.
Once everything is done, you get to button things back up and take the bike out for a ride. If you took your time and were thoughtful about component placement, you and more importantly your riding cadre will have a hard time finding any evidence of your upgrade. But your hands will know!