Impossible to Find Neutral? Use this Trick!
There are lots of reasons why a motorcycle might be hard to get into neutral, hard to shift, and one of them may be just that your cable needs to be adjusted, or you need a new cable. If it’s a hydraulic clutch, the hydraulic fluid might be dirty, just needs to be bled out. It could be the adjustment on your shift lever is off, or if you got new boots, you may need to adjust this to accommodate if your boots are thicker or thinner. To make sure you get the proper amount of leverage.
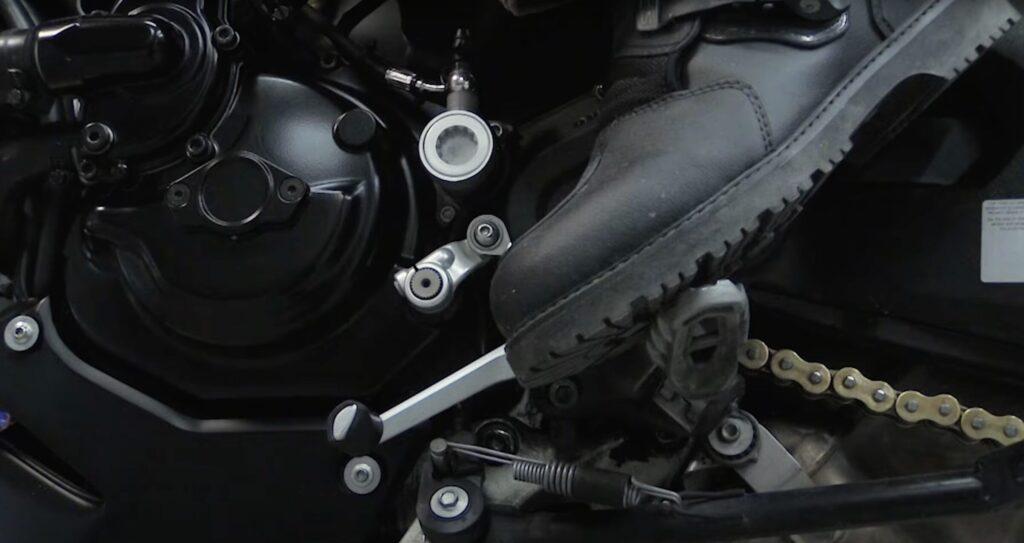
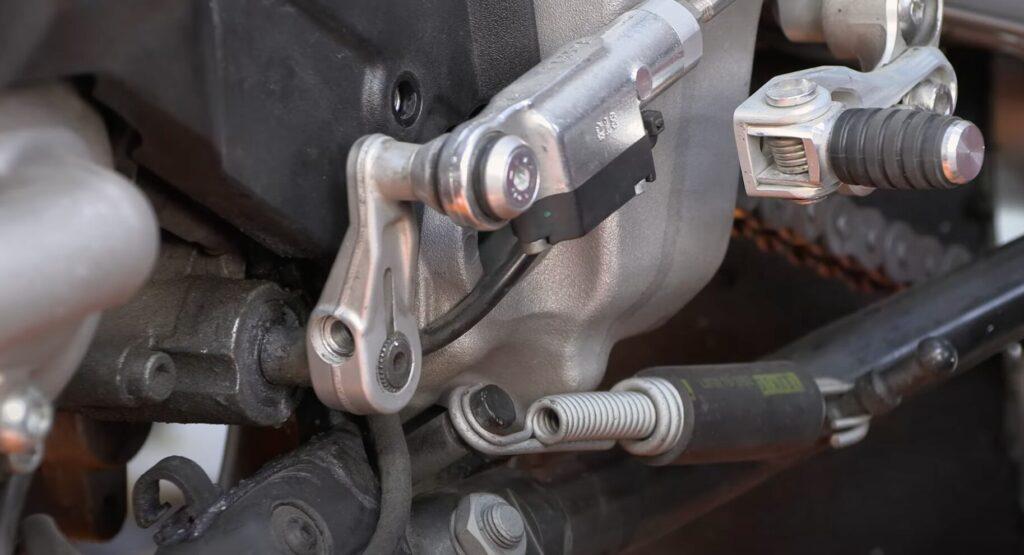
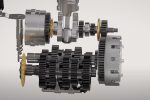
However, there are some things that are completely out of our control that might make a motorcycle difficult to find neutral, or to shift. Real quickly, let’s explain how this whole thing works. You have your shift lever. You have the shift arm, which is adjustable. There’s two lock nuts. One of them spins backwards so we can adjust the height of the shift lever really precisely. It goes through all these little ball joints and rotates the shift arm, which rotates the shift shaft.
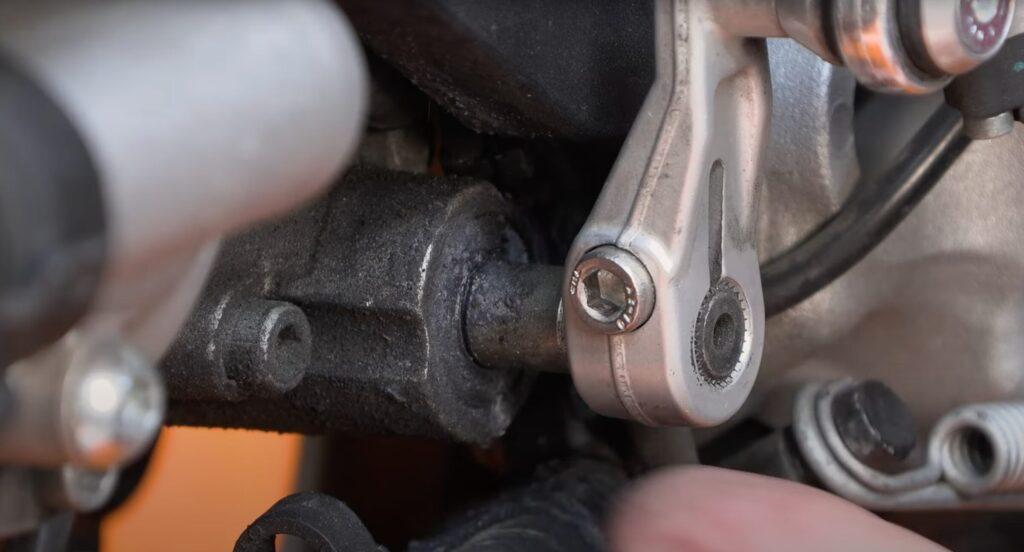
Now, on some motorcycles, the distance between the engine case and the end of the shift shaft is just a little bit too long. So when you’re trying to shift it, what’s actually happening is this shaft is flexing a little bit on some motorcycles, including this one, the shift shaft itself is vulnerable in a crash. In a fall you can either bend this or a worst case situation, It’ll hit and it’ll actually shove the shift shaft into the engine.
The solution to that problem is we are going to install a shift shaft support. It’s a little bracket that sits in between the end of the arm and the engine case with a little bearing inside there to make sure everything rotates really nicely.
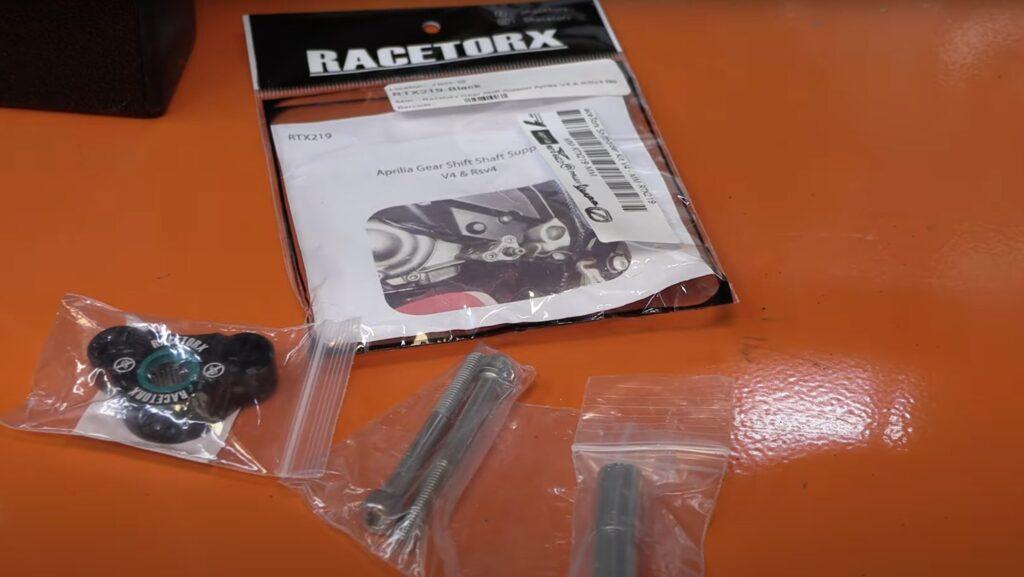
Installing this thing is crazy straightforward. We have our support, two slightly longer bolts and two spacers to make up that gap.
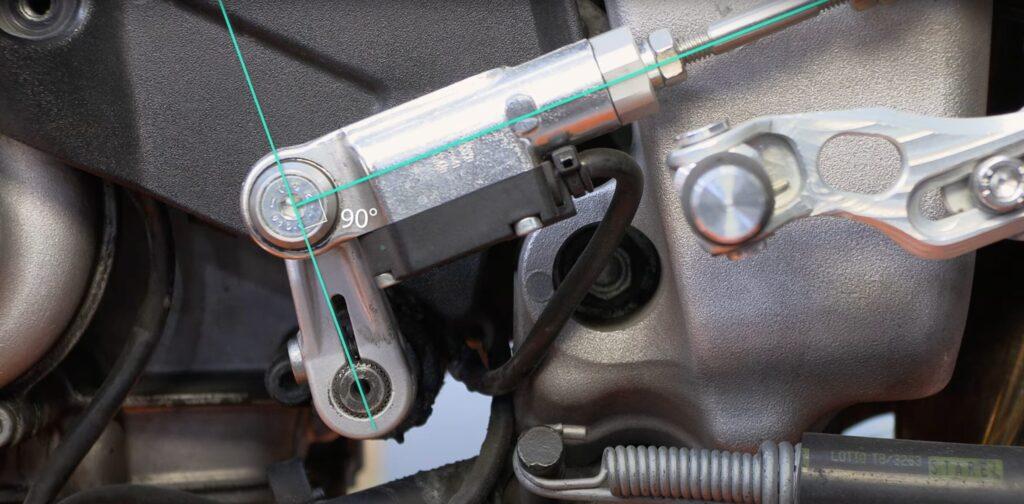
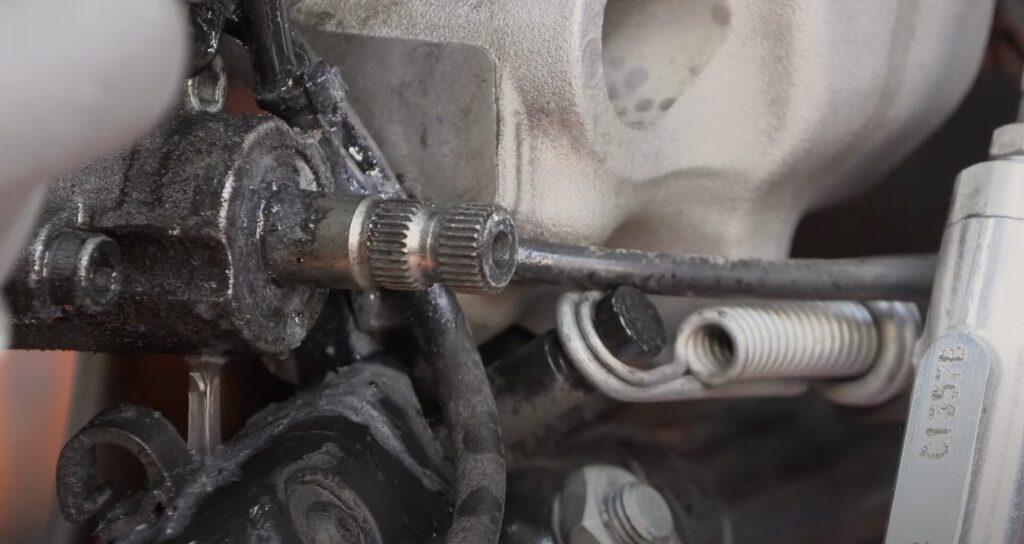
Most motorcycles from the manufacturer will have some sort of marking for this to be at the correct angle, and you actually want it as close to perpendicular to the travel of the shift arm. so I’ve marked it with this little center punch dimple. So it goes back together exactly the way it came apart. Obviously we need to remove this little arm.
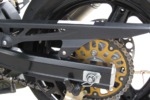
One thing that has frustrated many a motorcycle rider over the years is that this arm will not come off until this little bolt is completely removed, and then it’ll just slide straight off. Depending on your motorcycle, you may or may not need to remove the front sprocket cover. But be warned, it can often be really dirty under here.
Since most of the grime in here is primarily chain lube that flings off the front sprocket as it makes that tight turn, a lot of chain lube comes off.
A chain cleaner works great to, kind of, make that a little nicer. If you don’t have chain cleaner, WD 40 works great. So does kerosene. use your roommate’s toothbrush. I wouldn’t recommend using your toothbrush. Use your roommate’s. Another great little hack is to use some scotchbrite that just kind of helps release everything and break it down to make it all shiny and new looking.
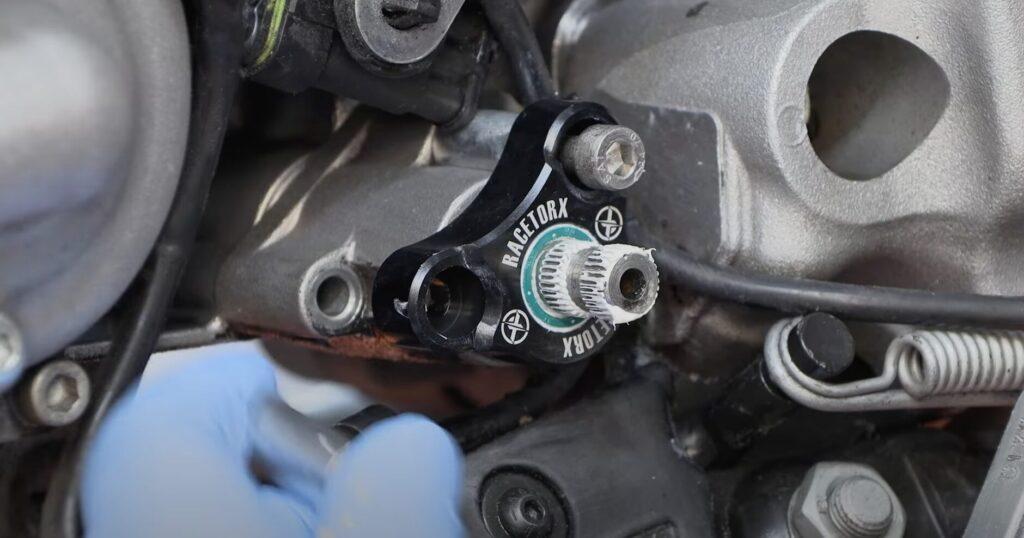
If you take this to a shop and have them do the work for you, likely they would just bolt it on and send you on your way. And this is the advantage of doing things on our own. We’re going to clean it meticulously so as not to introduce any unnecessary grit into this needle bearing. In fact, I’m probably actually going to pack some grease in there just to make sure it’s nice and smooth. I have chosen to use white lithium grease.
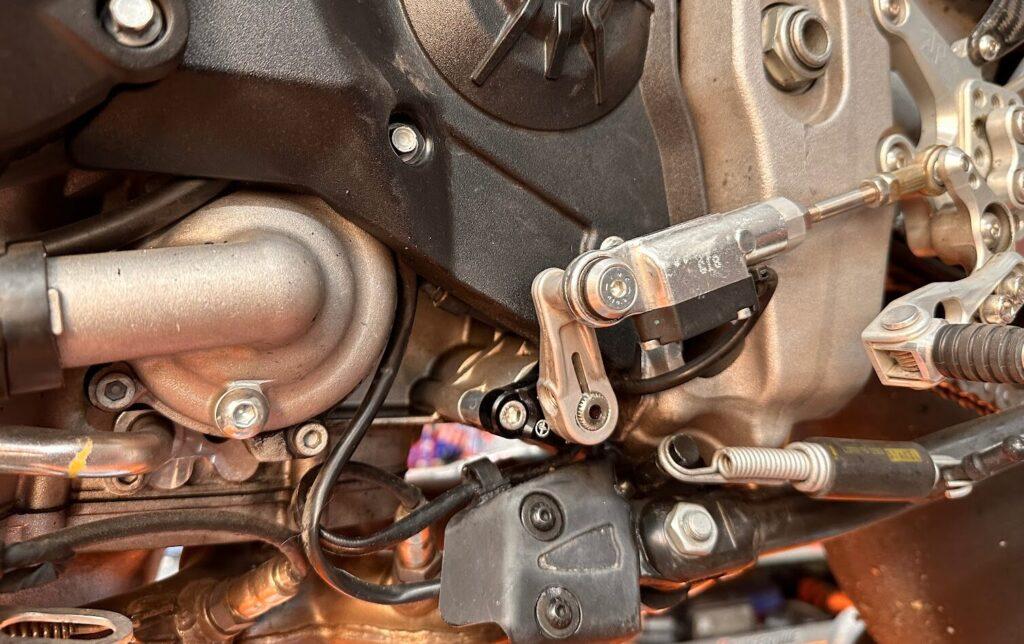
In the comments. Tell me why you believe this to be the worst choice I could have made. Honestly, I mostly I used it because it was easy to get in there. Be sure you torque it back up to spec according to the manual.


This is a great mod on my CBR600RR, really cleans up the shifts, especially noticeable when used in conjunction with aftermarket rearset which already tightens up the gear shift action.