How I Change My Tires In My Garage
So, after the “Lighter Wheels” video, I got a lot of questions asking how I’m changing my own tires, in my own garage. So that’s what this video is about. Today, I’m going to show you how I change; mount and balance my own tires, in my own garage, because having the ability to change your own tires really opens the world to you.
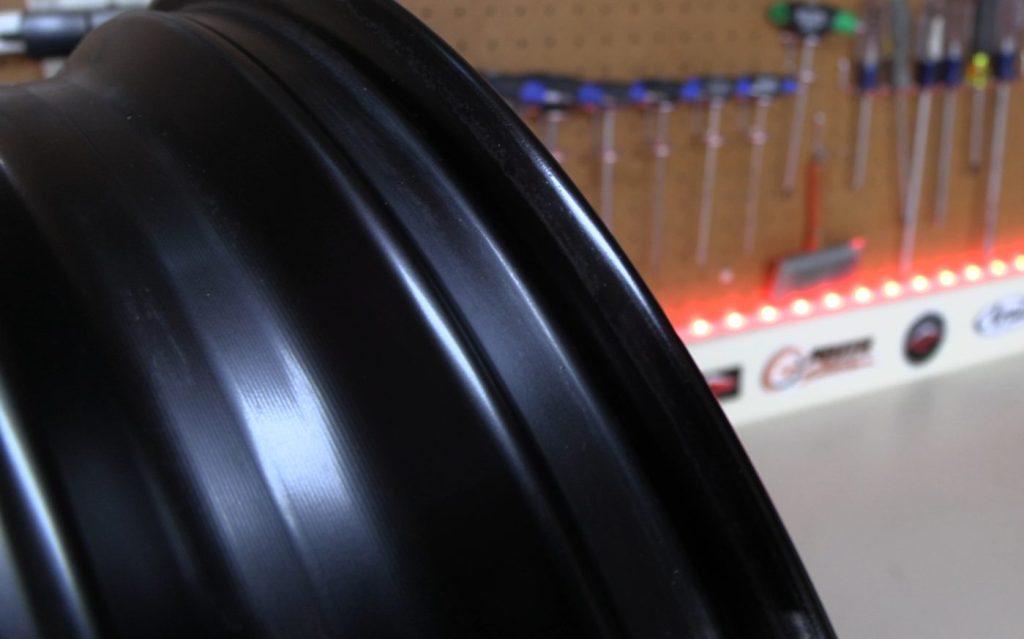
Now, before we really get into this, we kind of want to understand why a wheel is shaped the way it is, Because understanding it helps us know what we need to do when we’re changing the tire. So, the wheel itself we have the flange or the lip, right? And this is the part that always gets scratched up during tire changes. You also have the Bead Seat. That’s this flat part right here, and then right adjacent to that is is the Retaining Hump. The Retaining Hump is actually probably one of the most important parts of the wheel because it’s what holds the tire against the flange when you’re at low pressure or under load.
For those curious about Dark Side Riding, you know, putting a car tire on a motorcycle wheel; yeah, it’ll fit, but this shape is very specific to a motorcycle bead. Motorcycle beads are shaped differently than car beads. So, yeah, you can get a car tire to fit on a motorcycle rim but it doesn’t fit perfectly. If you want to know more about Dark Side Riding, Ryan over at FortNine did a really fantastic video that explains why you should never put a car tire on a motorcycle wheel.
Now the important part of the tire, that we really need to pay attention to for this, is what’s called the bead. The bead is a heavy metal band. It doesn’t bend. It doesn’t stretch. It is it’s the most solid part of the tire, and it’s also the exact same shape as the rim, right? Like, this is the bead seat, and this is where the flange sits, and it’s the right size to sit right in there behind those Retaining Humps to hold it in place.
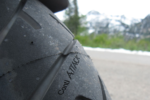
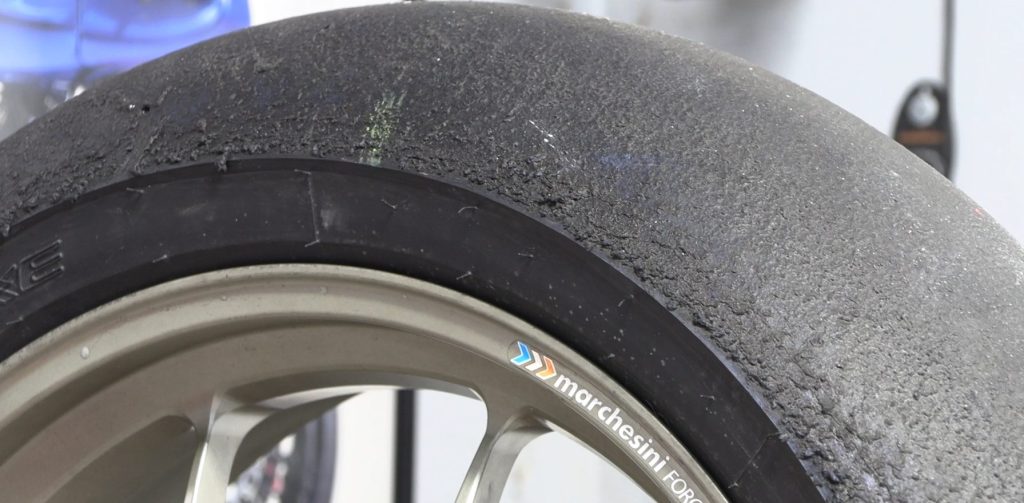
The other thing we need to pay attention to on, the side wall is, most tires are going to have a dot. Yellow or red, that indicates the lightest part of the tire. This basically needs to line up to the heaviest part of the wheel, which typically, is the valve stem.
The last part of the tire we need to be aware of is what’s called the the Center Drop, or the Drop Well, or sometimes it’s called the Valley; but this is what allows us to put a tire on a wheel. We have to put the beads inside the drop well so that we can get the the bead over the lip on the other side of the tire. So understanding the Drop Well is key to putting a tire on. That’s why I bring this up.
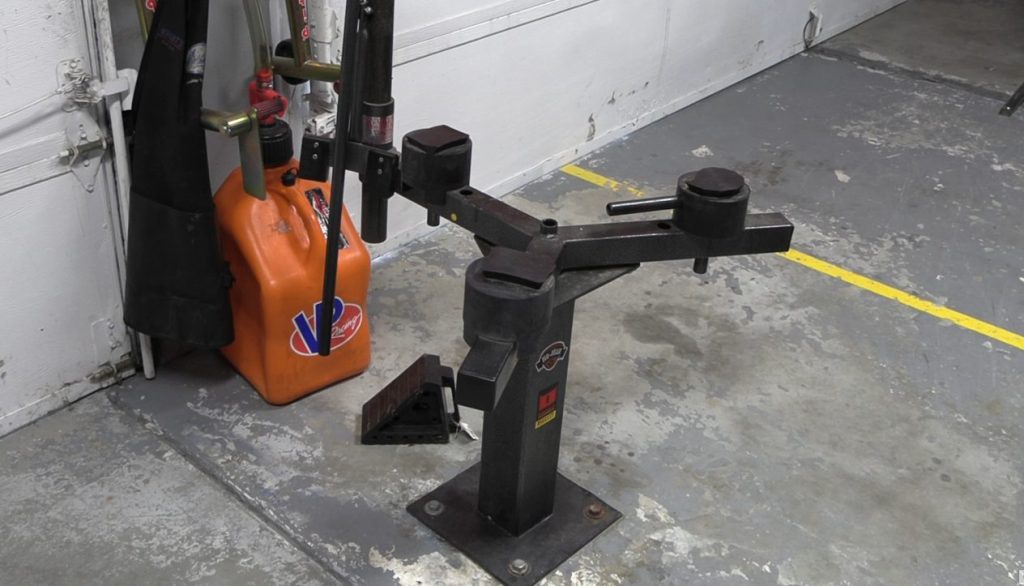
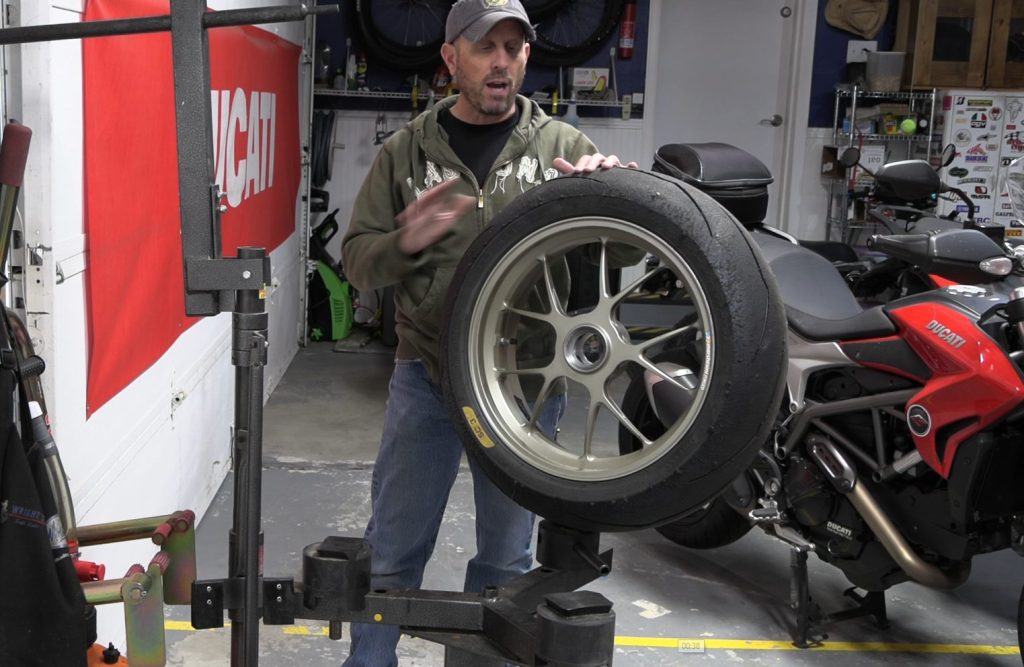
This is my well-worn, well-used ,well-loved No-Mar tire changer. No affiliation. I bought the thing with my own money in 2007 or 2008 I think. It’s the classic model I believe, but they’ve made so many improvements to their design over the years. I think I paid $650 for it. So, yeah, it was an investment, but who knows how many times over has paid for itself, because, I think a shop now charges around, I think $30 to $40 to mount and balance a tire.
The reason why I chose No-Mar over the other brands is because of their Delrin blocks. If you mount a tire correctly, and I’m going to walk you through that, no metal will actually ever touch your rim. In the 15 years and lord knows how many tires I’ve changed with this thing, I haven’t scratched a single wheel.
Having a tire changer really gives you a lot of freedom, like, for track days. If you want to move track tires to street tires, or if you have a long trip coming up, and your rear tire just doesn’t really have enough life to make the trip, and you don’t want to throw away the half-worn tire. Put on a new one and then save that half-worn tire for the fall when you’re only doing day rides. Now, the downside of that is I have a whole rack filled with half-worn tires.
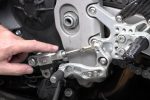
If your tire has a stiff carcass, you probably want to do this when the tires are warm. It makes them a little bit more pliable. Or set the bike out in the sun for a few minutes. The first step, though, is we’ve got to take this block and we move it up to this position, right here. Then we can set the tire down in place so that the the Delrin block is directly beneath the rim. Then, using a Valve Core tool we want to just remove the valve core to let all the air out of the tire.
With the wheel sitting directly over the block, you take this arm, which is a Bead Breaker, and we put it right where the Delrin just gets really close to where the rim is close tp the tire. We just kind of hold the tire from rolling up. Just push down and pop the bead off the tire. And then we kind of just rotate it. Pop it again. And once that’s done you can basically just kind of push the bead in all the way around the tire to break the bead on that side. And then we flip it over and do the same thing on the other side of the tire. Then we move this Delrin block back to the 17 inch wheel size position, and we’ll use this. We’ll push the bead underneath these lips, and then we’ll lock the tire in place with this arm.
We set the tire in and we push it down to kind of push it underneath those little lips. Then tighten it down in place. I always like to keep the valve stem closest to me, so I know where it is at all times.
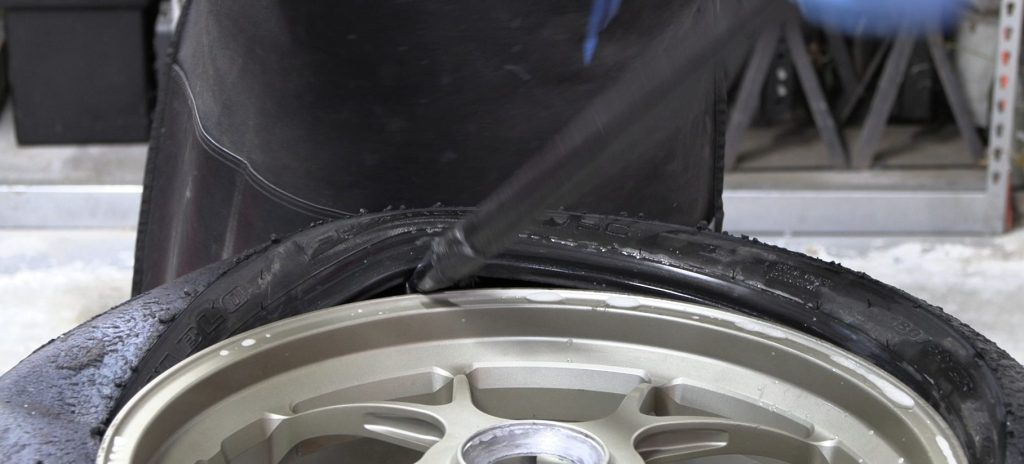
A little bit of soapy water… I usually just mix in a couple drops of dish soap with some warm water. That’ll just kind of help make everything nice and slippery.
Remember how we talked about the Center Drop? We need to push the bead down into the Center Drop. Then we’re going to take this end and we’re going to slide it underneath the bead and then rotate it to hook hook the bead so we get the tire off.
This is the most important part of the No-Mar system. With this big long bar, we don’t want to pry. We’re not trying to pry the bead off of the wheel. And that’s what makes changing a tire, you know, on a piece of carpet on your knees with tire irons such as nightmare. All that prying. What we’re doing is, we’re actually trying to lift the bead up and over the top of the lip. We want to make sure that this side of the tire is down into that Center Drop and then we’re just going to lift and rotate. You can see that the bead is already coming up and off the rim.
Then we pull this down. We want to slide this bar… this is a little awkward because I’m doing it for the camera… Down through the wheel, and it goes into a little pocket down there. Then we tighten it back up. Then the bar is going to push against this as we rotate the bead off. Again, no metal is touching anything. The tip of the bar is Delrin. The wheel is set in Delrin… Then we basically, just kind of walk the bar around, and it’s just gonna like lift the bead off. There it is. Halfway off. And then we’re just gonna do the same thing to the other side. So, we get this out of the way. We grab our bar. We want to make sure we, kind of, pull the tire up into that Center Drop. Then, real carefully, go in and grab the bead with the other side of the bar, rotating at 90 degrees so it hooks. Pull the bar back down, and then we can just work off the other side. And the tire is off. That’s as easy as it is.
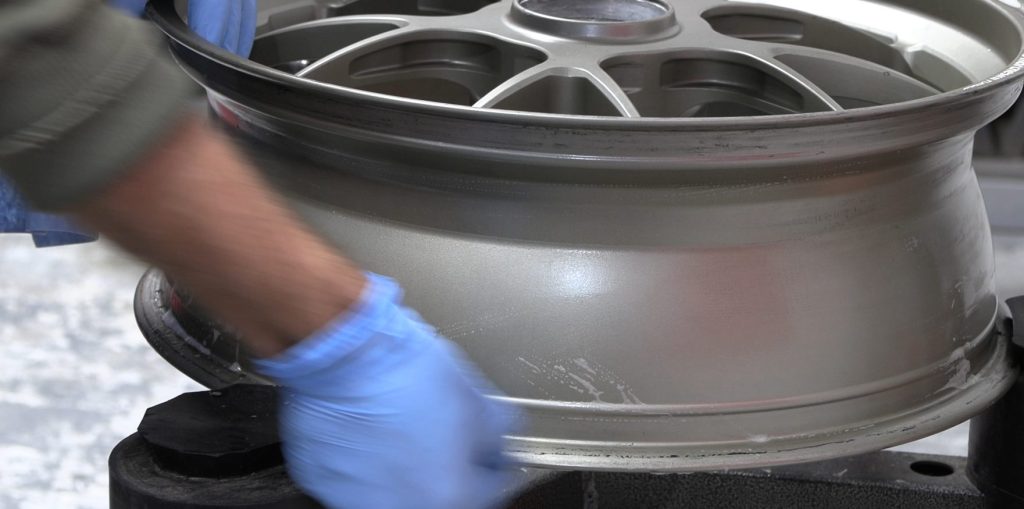
This is the part where I like to clean everything, you know, because I’m doing this in my garage, and I have plenty of time. I’m not rushed. I can clean the inside of the wheel. A lot of rubber and gunk, you can see, it’s kind of starting to collect here on this inside of this bead. A lot of this starts to build up over time. So I just like taking a few seconds to wipe it down before you mount your new tire. Just make sure everything stays in good nick.
Before you put your new tire on, you want to make sure it’s spinning the right direction. Again you’re doing this at home, so you can take your time. You can be meticulous; double check and triple check. This is where you take the red dot and you align it to your valve stem. Again, that’s why I like to keep the valve stem facing towards me. So, I can take it and i can put it on. The first bead usually goes on really easy because we can just kind of push that into the the Center Drop and then we can just kind of work the bead on. If it’s being stubborn, of course, use a little bit of soapy water. For the second bead, we’re absolutely going to need some soapy water. You want to try to make sure you get some lube on the underside of the bead to help it slip over the lip of the rim. Then we kind of push the bead in on our side just using our hands. And then you take the Yellow Thing: This is actually a No-Mar part. They call it the Yellow Thing. And you slip it over the wheel and it holds the the tire so it won’t roll off of the bead. I mean, kind of push it in as much as we can, before we grab the big bar. But the other side has these two two bars instead of the one. And we just want to push it until this part goes below the bead of the tire.

Then we just lower this bar like we did before, because we’re just going to leverage around it. And then, this again, it’s it’s not so much as a pull. You know, you can try to pull. It’s going to want to pop up, but you actually go to the other side of it. And I like to use my hip, and pull on this little handle. Just, kind of walk my way around it. Now, as I go, I need to make sure that the bead stays down into that Center Drop. So, I’m constantly pushing the bead down into the Center Drop to make sure that I have plenty of room for the the bead to slip over the top of the tire. We don’t want to force anything! We don’t want to bend a wheel, so just kind of doing that; just kind of work it in, and just kind of push it down into the Center Drop. And the tire is effectively mounted. Release the clamp. Get the tire up out of there, and then reinstall the valve stem.
Next, we’re going to seat the bead. And a word of warning, you know, because we know the shape of the wheel? You have those Retaining Humps. So, the bead has to slip up and over before it can come into contact with the with the Lip and everything. So it’s going to be loud. It’s going to make a loud bang. So keep your fingers out of harm’s way, and don’t over inflate the tire. It shouldn’t take more than 2.5 bar or 40 psi for the the bead to set. If it takes more than that, then something’s wrong. You might need to release it again. Maybe spray some lubrication into the bead, or whatever. But, but for the most part; most times you basically just put air into it, and the beads gonna seat.
There it is! Now we want to check our tire pressure and we’re gonna move on to balancing it.
This is a static balancer. Now, I know what you’re thinking. It’s not nearly as fancy as that computerized spin balancer you see at a lot of local shops. But this is the same technology used by race teams like World SuperBike and MotoGP, and I figure if it’s good enough for MotoGP, it’s good enough for me.
But basically, how it works is, we mount the tire and wheel with a special bar with special cones to hold everything together. And then we set it into the balancer, and it sits on these very high precision bearings. We kind of give it a gentle spin, and what’s going to happen is that the heavy part of the tire is going to sink to the bottom. So it helps us find the light part of the tire, which will be where we want to add weight. Now, I should also mention that you need to pull off any other wheel weights before you go to this step.
Then we want to mark the the lightest part of the tire with like a yellow line, or chalk or lumber crayon, or whatever you’ve got to make a mark… and then give it another gentle spin.
When we’re confident we know where the light part of the tire is, the light part of the tire and the wheel, get your wheel weight; I usually start with 14 grams or half an ounce, and pull the tape back halfway and stick it to the top, the lightest part of the wheel. Then we want to rotate it 45 degrees; and if our weight is correct the wheel will stay stationary. Then we want to rotate it back the other way; check it again. Make sure that it doesn’t rotate. And we have a perfectly balanced wheel.
And that is how I mount balance a tire in my own garage. And I gotta’ say; it’s really fantastic not being at the mercy of a shop’s busy summer schedule. If I need to change a tire in the height of riding season, in the middle of summer, I can just go in and grab a tire from a local shop. They typically discount it because they’re not dealing with mounting it. And I go home and take care of it myself. And, and I like to support my local shops. I’ve honestly had bad luck with buying online tires. I ordered a tire once where the sidewall was stamped with an arrow going this way, and the tread pattern was stamped with an arrow going that way… The whole tire was put together backwards. And it was just this huge hassle of trying to explain it, and sending it back, and getting the new one, when I could have just gone to a local shop and it all would have been taken care of. We need our local shops, so it’s… I really believe in building relationships with our local shops. So if you can. If it’s feasible; buy your tires locally.