Single-Sided Swingarm Cush Drive Replacement
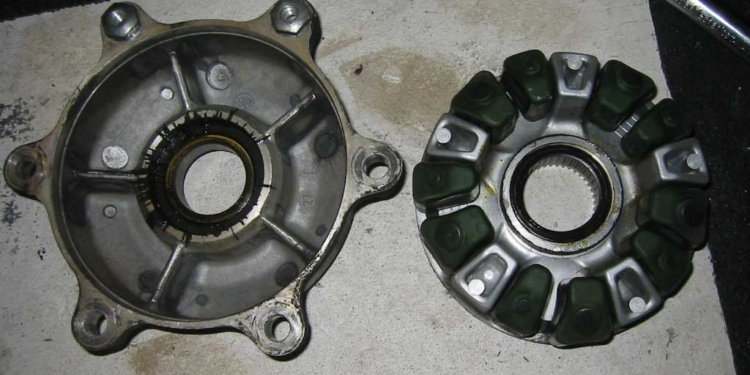
The cush drive is designed to reduce stress from engine torque damaging other components during gear or throttle changes. A common design used by almost all street motorcycles, it has three major pieces: the wheel, the sprocket assembly, and the rubber damper. The wheel and the sprocket assembly fit together with five sections much like two hands woven together. In between the contact of the two assembly are rubber blocks. This makes it so the wheel and the sprocket have a dampening layer between them, and the rubber blocks reduce wear and fatigue of the metal assemblies.
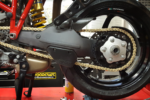
The rubber cush-drive should be replaced about every ten years. On traditional bikes, every time you pull the rear wheel the sprocket falls off and the little rubber dampers bounce all over the garage, facilitating easy inspection. But on Single-Sided-Swingarm bikes like the Honda Hawk, Honda VFR and most Triumphs, the cush-drive rubber dampers lie hidden somewhere within the mysterious confines of the rear hub. Neglect your cush drive and the rubber bumbers will be reduced to a chalky powder leaving your drive train suseptible to catastrophic damapge.
We used a Honda Hawk GT for this operation, but most every Single-Sided-Swingarm design is the same, with the exception of most Ducati’s. On Ducati’s the cush drive is integrated into the rear sprocket and not buried inside the rear hub.
Recommended Tools & Supplies
- Six-Point, 46mm Socket.
- 1/2″ Breaker Bar
- Craftsman 1/2″ Torque Wrench
- Motul High Performance Lithium Grease

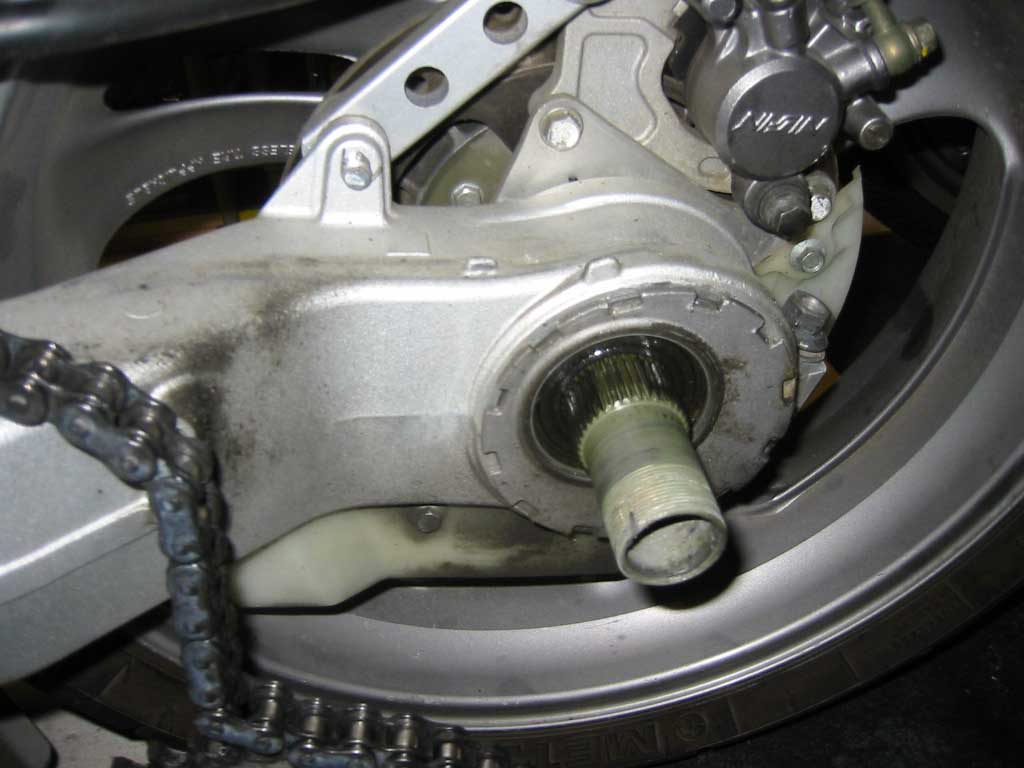
The first obstacle is the massive rear nut. Located on the left side of the bike, this nut is “staked”. Meaning that a section of the nut has been mashed down into a recess in the axle. The manual simply says, de-stake the axle nut. Okay, then.
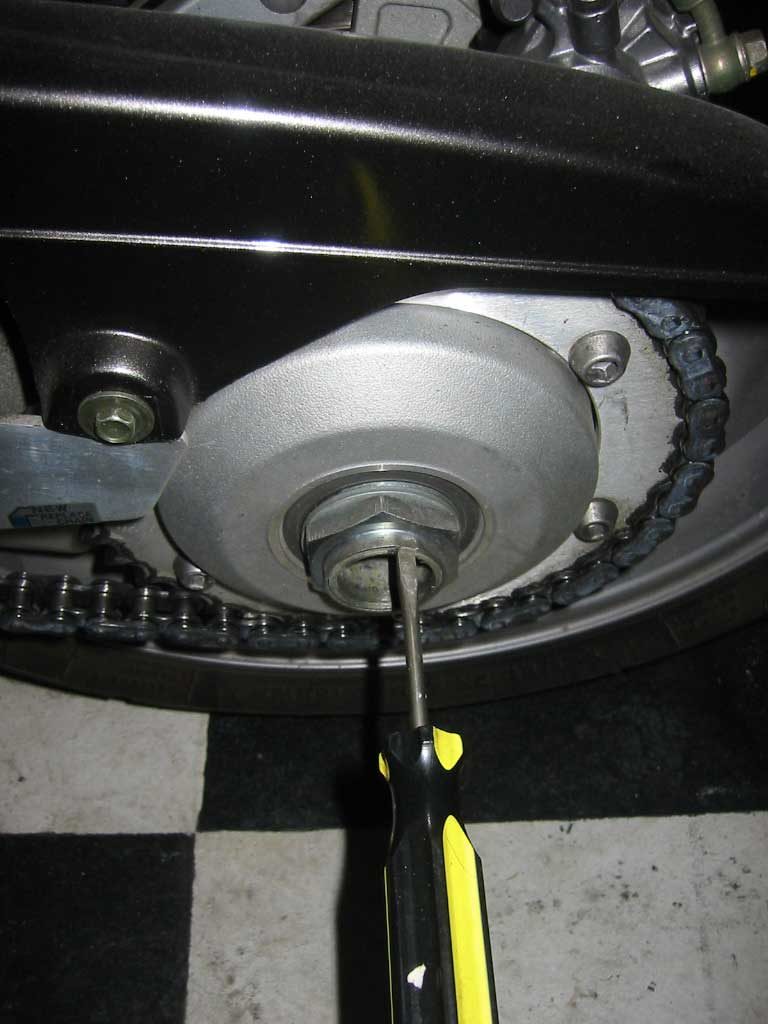
Not knowing exactly what this required, I used a very precise, specialized tool to perform this delicate procedure. A small flat-head screwdriver and a hammer. A few careful smacks with my ball-peen and the axle nut was no longer staked.
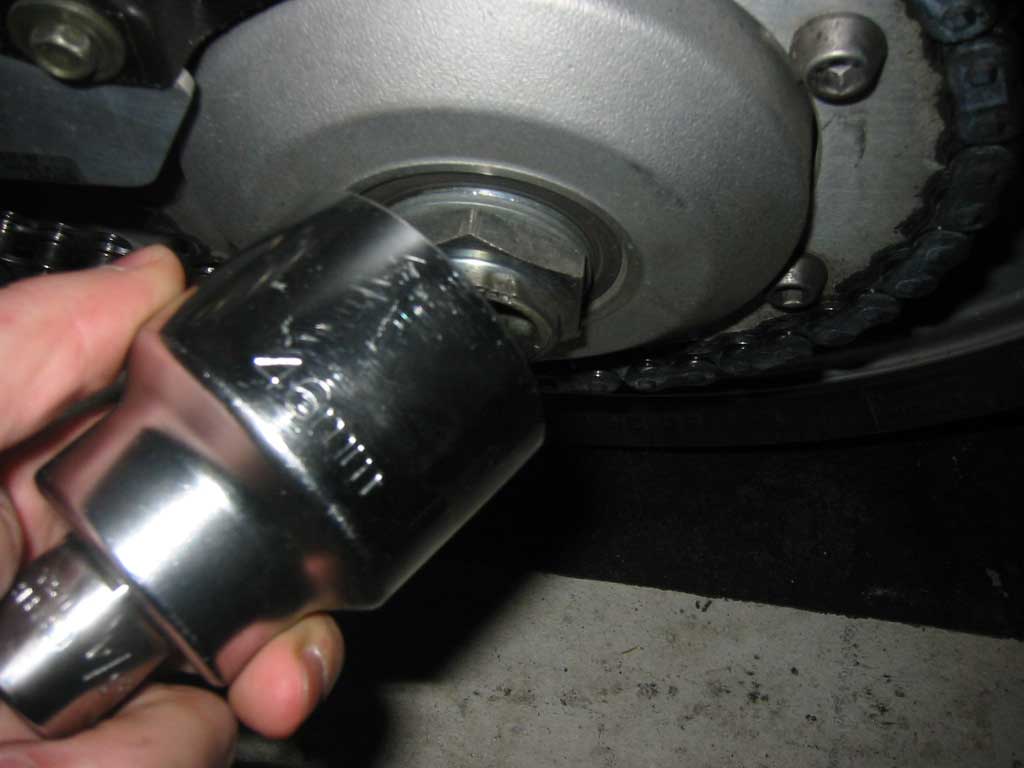
Fortunately for me, the axle nut is the exact same size as the axle nut on the Triumph and Ducati; 46mm. A breaker bar was all that was needed to spin the nut off the axle.

Removing the axle nut, and the lock washer is not enough to release the hub from the swingarm. (there is also a third, thick spacer that centers the hub on the axle – not pictured).
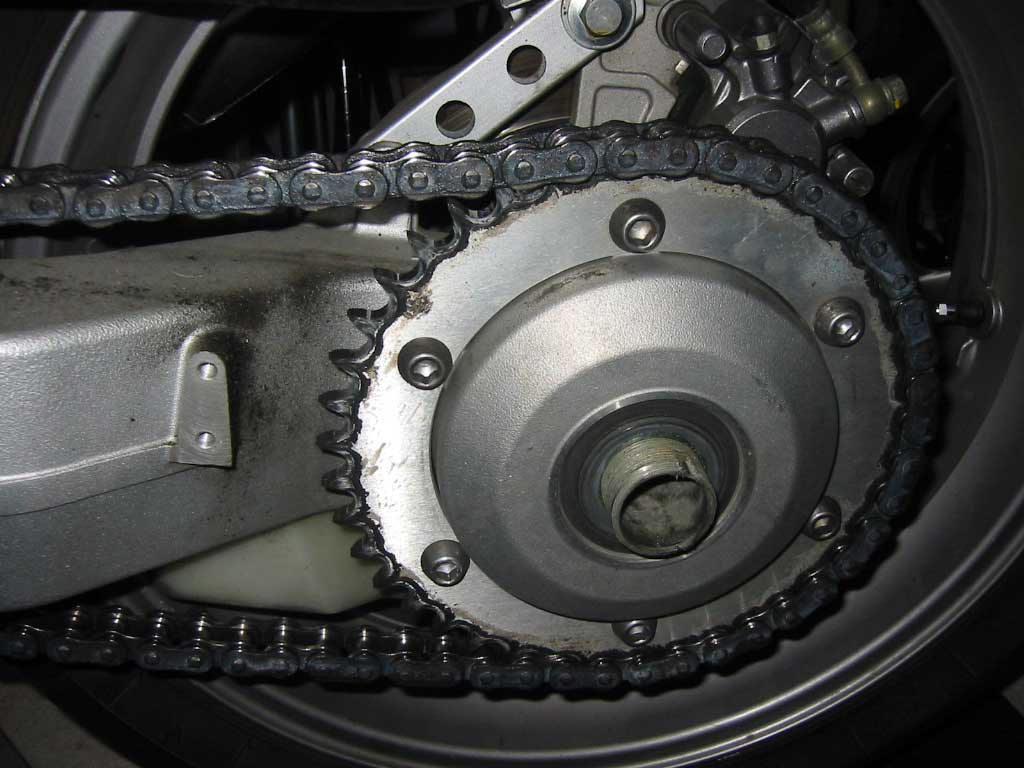
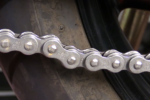
The chain prevents the hub from sliding off the axle. Even after loosening the chain all the way, the hub would not clear the axle so simply pull the sprocket.
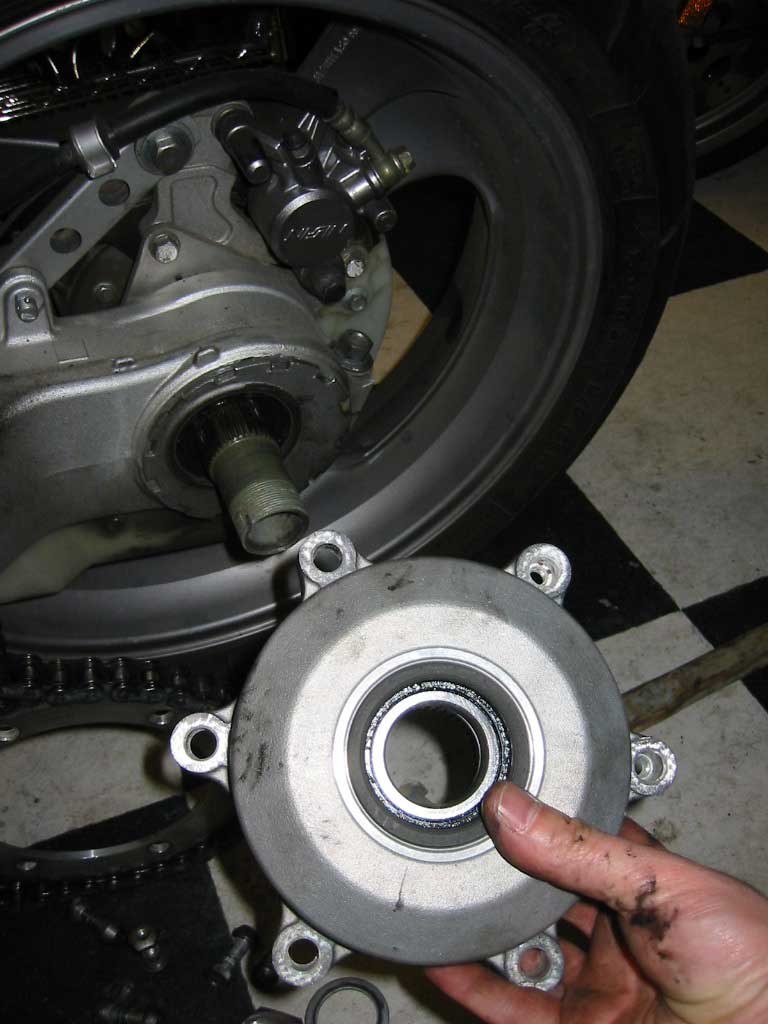
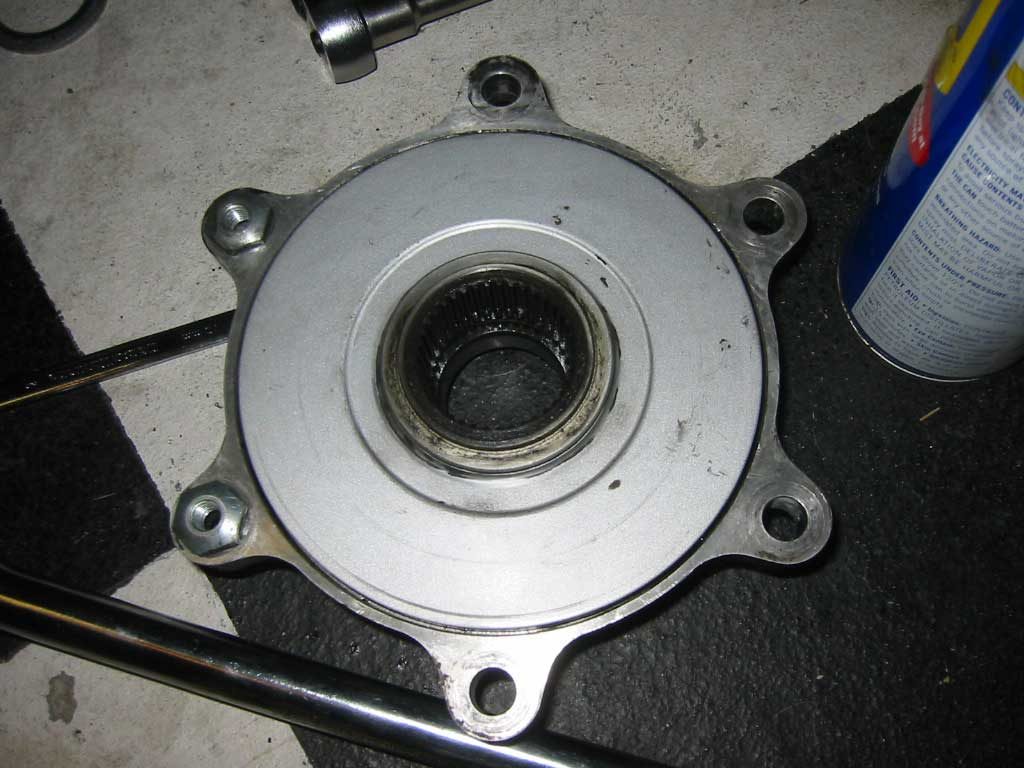
Only six bolts stand in the way. Once the sprocket is separated from the hub, the hub should slide right off the splined axle.
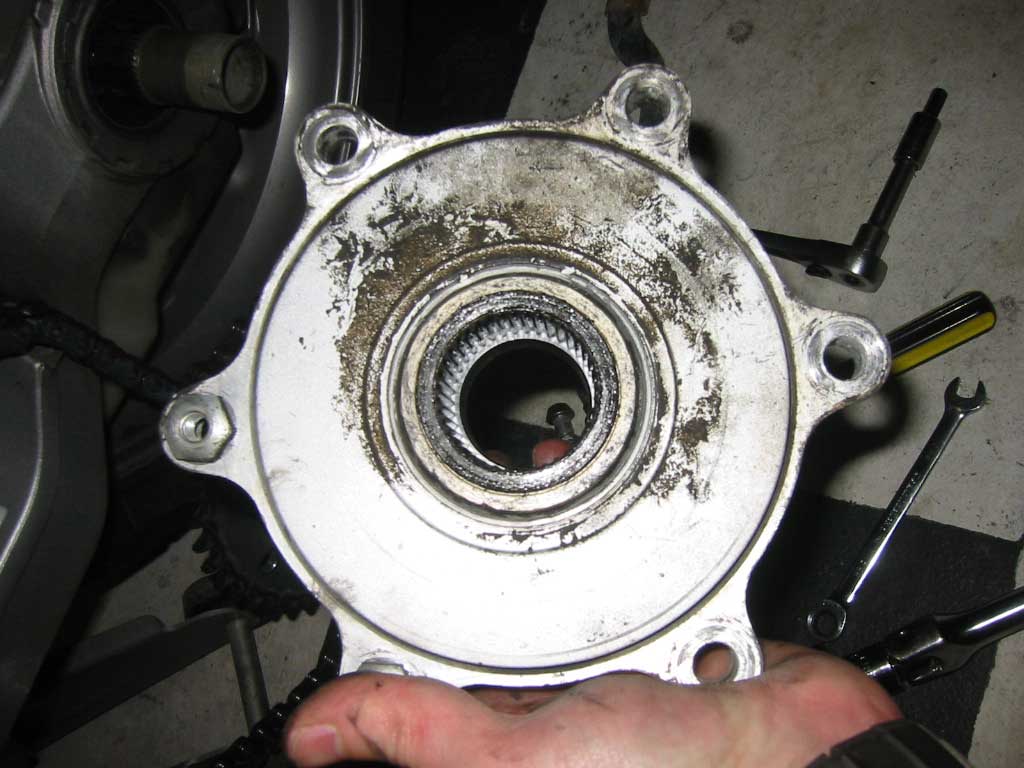
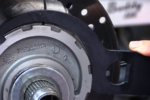
After a few minutes of fiddling, and having no luck at separating the two parts, I very gently tapped the carrier onto the floor.
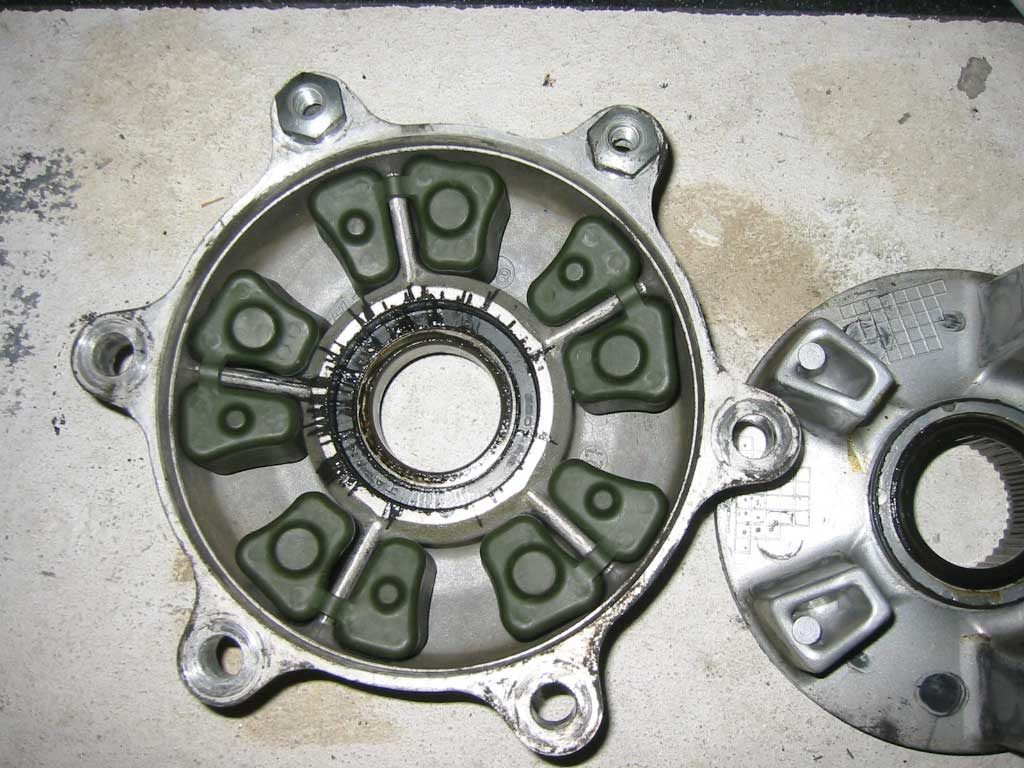
It popped apart, straight-away, revealing the green rubber cush drive parts to be replaced. While I was delighted to learn that my cush-drive rubbers had not been reduced to dust, they were rock-hard and had turned from the green color they started life as, to a distinct aluminum color.

The new cush-drive parts (Honda part number 41241-MN8-003) did not have the dashing aluminum staining and were much softer and more pliable.
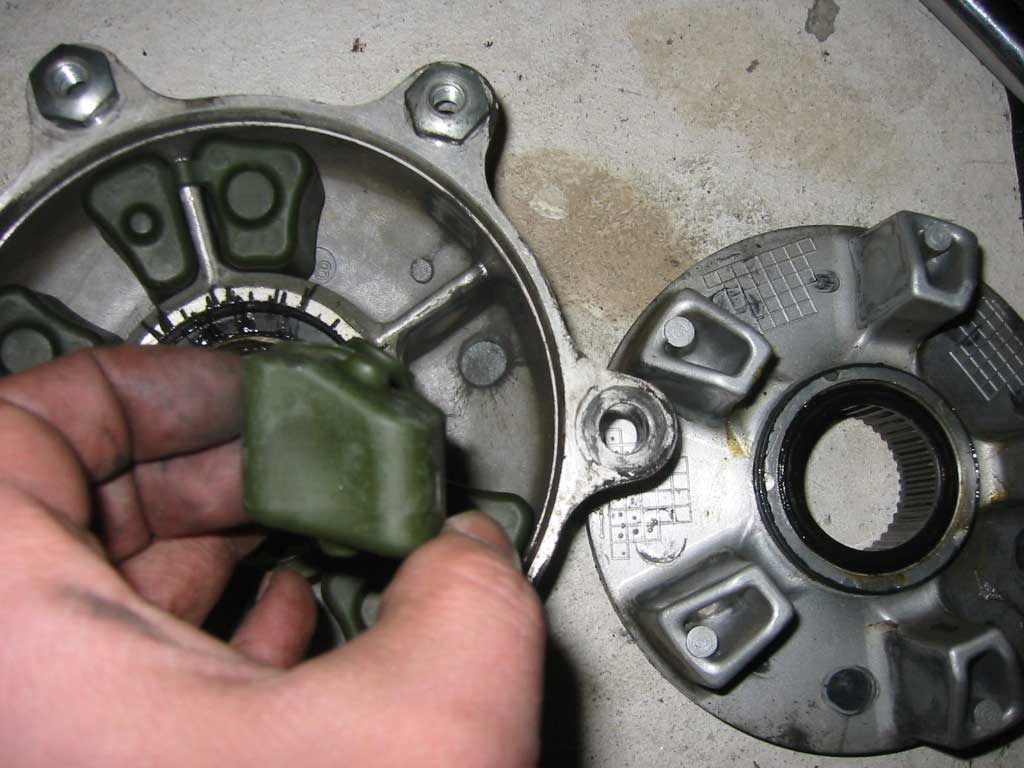
They are shaped to go in a proper way and a wrong way. The tapered end, (facing the top in the picture) should face the bottom of bowl-shaped half of the carrier. Also, the cush rubbers are connected by a little strap. Do not break the strap! The strap is designed to sit on top of the ribs to help hold the cush rubbers in place.
Once installed, spray them down with a light coating of silicone and slide the two halves together. Without a slippery catalyst the traction of the rubber cush-drive bits will not allow the hub to slip back together.
Before putting the carrier back onto the axle and buttoning the whole thing back together put a thin coating high-pressure lithium grease over the axle splines, then put a thin coating over the female splines at the center of the carrier.
The rear nut is to be torqued down to 120ft.lbs. and re-staked. Don’t neglect to re-stake the nut as this is the bolt that holds the rear wheel together. This whole job took about one hour to perform. After installing the new cush drive, the entire drive system of the bike smoothed out, including shifting!