How to Film Better Motorcycle Videos
Lower the friction between your idea and clicking upload.
Camera technique is learnable. Gear friction kills momentum. Complex setups fail. Batteries die. Files corrupt. You ride home excited, then discover the footage is unusable. This guide shows a simple workflow that reduces failure points and makes filming feel easy again.
Start with a story, not a ride log
A story does not require epic locations. It needs a point. Use a small mission. Examples
- Ride across town for a donut shop.
- Find a new canyon road before sunset.
- Make it to a viewpoint before the gate closes.
Add a constraint.
- Use a deadline.
- Use a limited route.
- Use a single goal.
Avoid recording your entire day. Record only moments that change something. Examples
- Traffic.
- A road closure.
- Weather shift.
- Wrong turn that becomes the best road.
That’s conflict. That’s story.
Record in a way that makes editing fast
Use this habit.
- Focus recording on the good part or scenic part of the road.
- Stop recording when something interesting happens, like sheep run across the road.
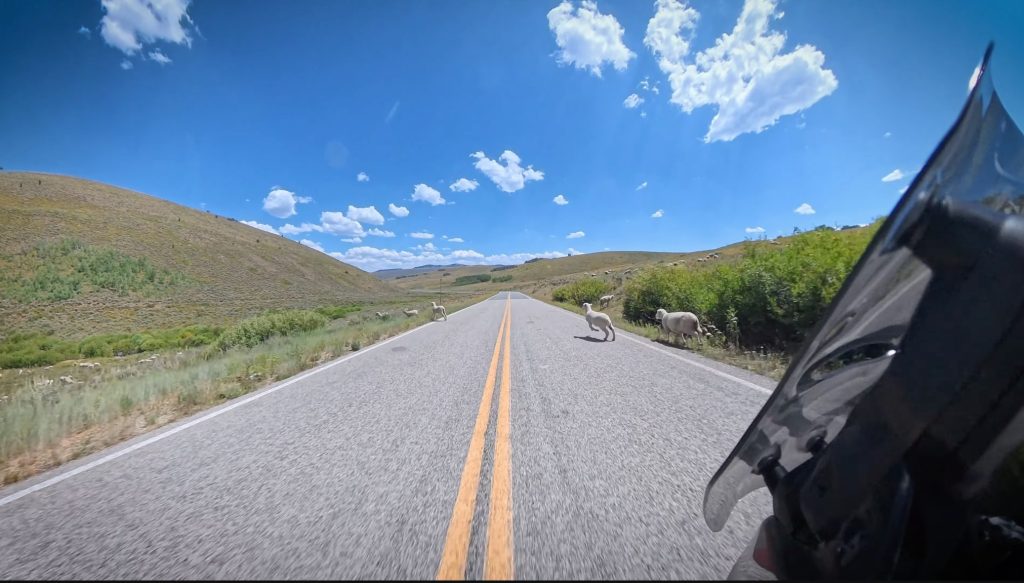
This makes the edit easier. You can scrub to the end of each clip and find the useful sections fast. It prevents hours of digging through dead time.
Use the cameras you already have
Do not wait for perfect gear. Start now.
A practical three camera approach
- Smartphone for quick talk to camera clips and convenience. (Clean your Lenses!)
- Action camera for risky placements where you do not want your phone.
- 360 camera as the workflow workhorse when space is limited.
Why 360 helps
- It captures multiple angles from one mount.
- It gives you POV, rider view, and environment shots from one position.
- It buys you time. Time is everything on a ride shoot.
If you dislike 360 distortion, fix it in editing with reframing and horizon control.
Prioritize audio over video
Viewers forgive soft footage. They do not forgive bad sound. Build the video on audio first.
- Capture clean narration.
- Build the edit around that track.
- Add visuals to support the story beats.
Easy audio wins
- Pair your comm unit to the camera for clean voice audio while riding.
- Use a wireless mic for talking segments off the bike.
Use wind protection every time.
- Use integrated mic wind screens when available.
- Use an external wind muff on your mic when needed.
If the mic looks silly, that is fine. Bad audio is worse.
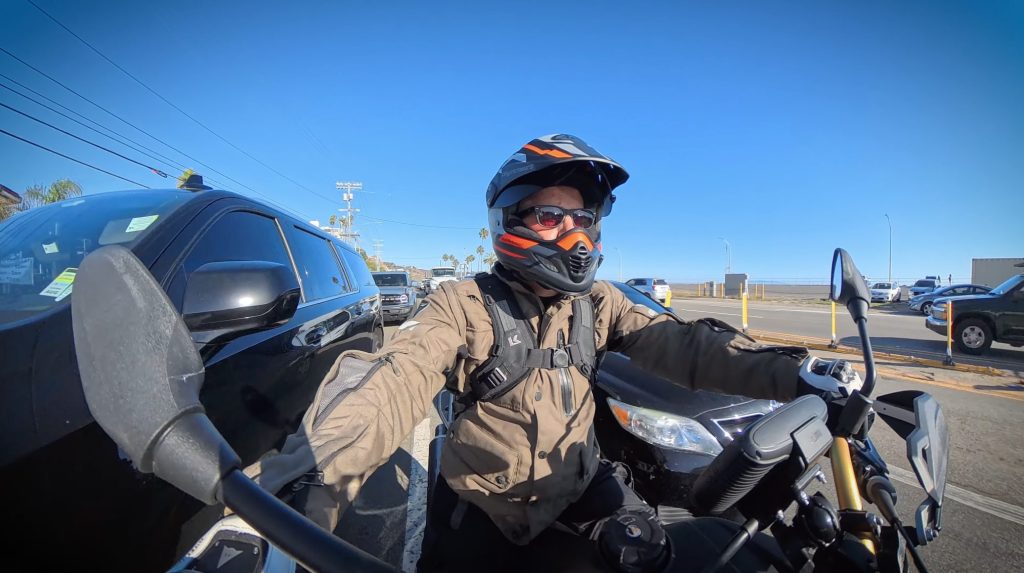
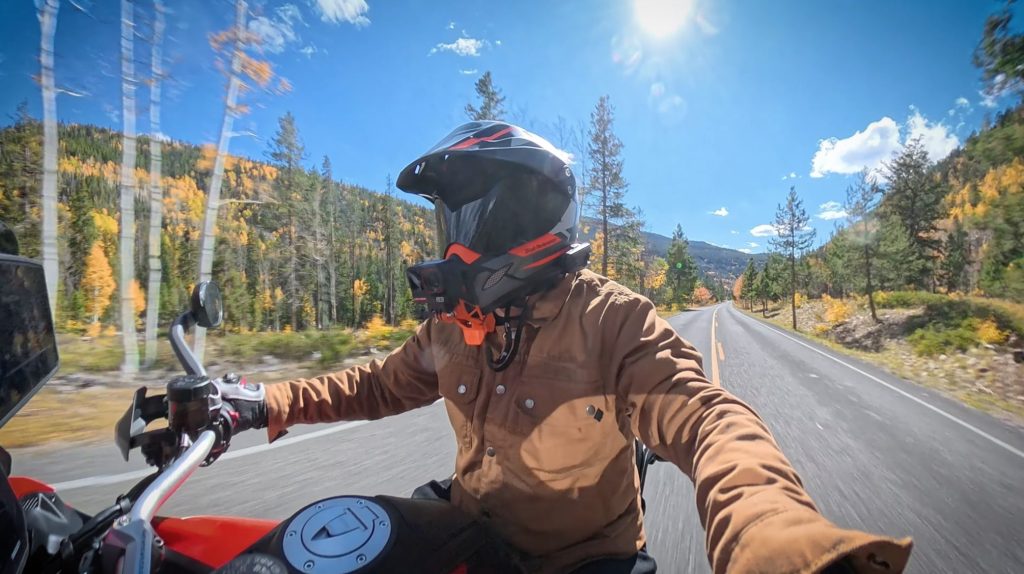
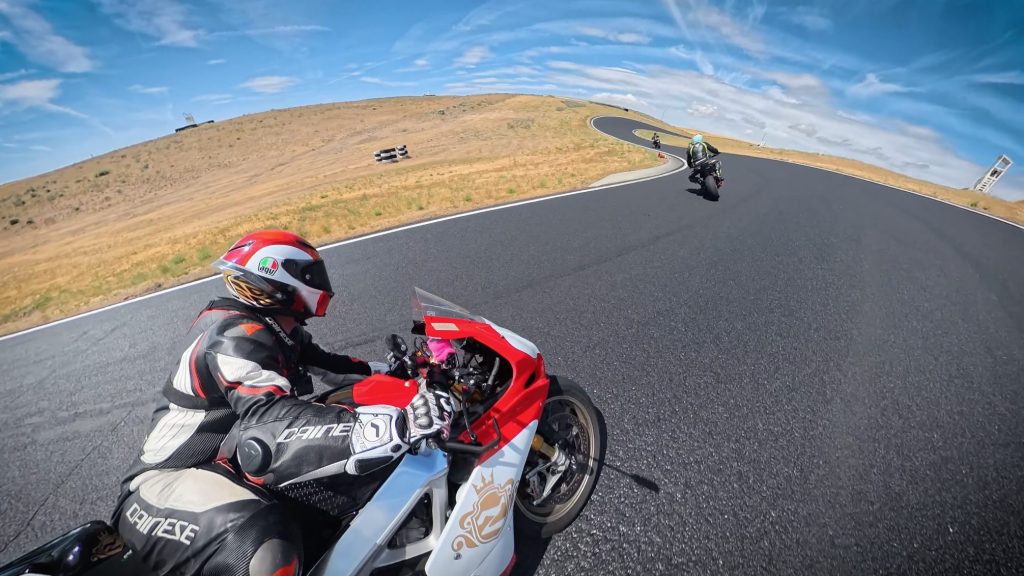
Avoid helmet mounting when possible
Your helmet has one job. Protect your brain. Do not add a lever to the side of your head for convenience. Use helmet mounts sparingly. Better options:
- Chest mount for a similar view with less risk.
- Bike mount plus paired audio for narration.
- Third person roadside shots for variety and context.
Treat selfie sticks like a safety issue
Selfie sticks create great shots. They also affect steering. Risks to manage
- Handlebar wobble from the stick weight.
- Reduced steering lock if the stick interferes.
- A loose mount swinging into wheel, chain, or fork.
If you use a stick
- Use a carbon fiber stick to reduce wobble.
- Mount in two locations when possible.
- Use only for short stretches.
- Ride slower than normal.
- Double check clearance at full lock and full compression.
If it can fall, plan where it falls. Do not let it fall into something catastrophic.
Use mounts that are fast and repeatable
Choose a system that lets you move cameras in under a minute. A good mounting approach:
- Use a primary mount position you trust.
- Add secondary mounting points on the bike.
- Move the camera between them quickly.
Avoid spending your ride adjusting knobs. If you are always fiddling, you are not riding. You are managing gear.
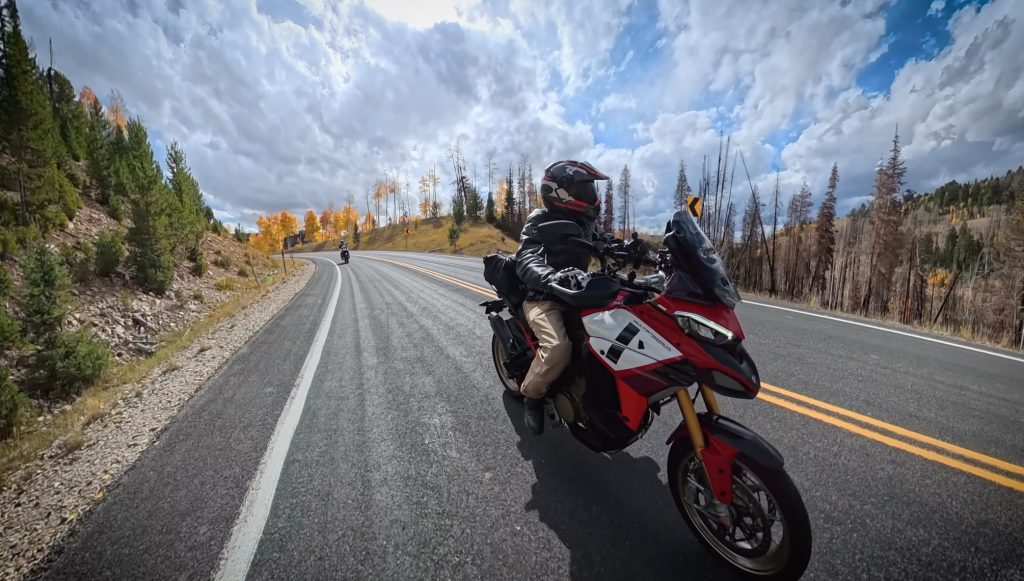
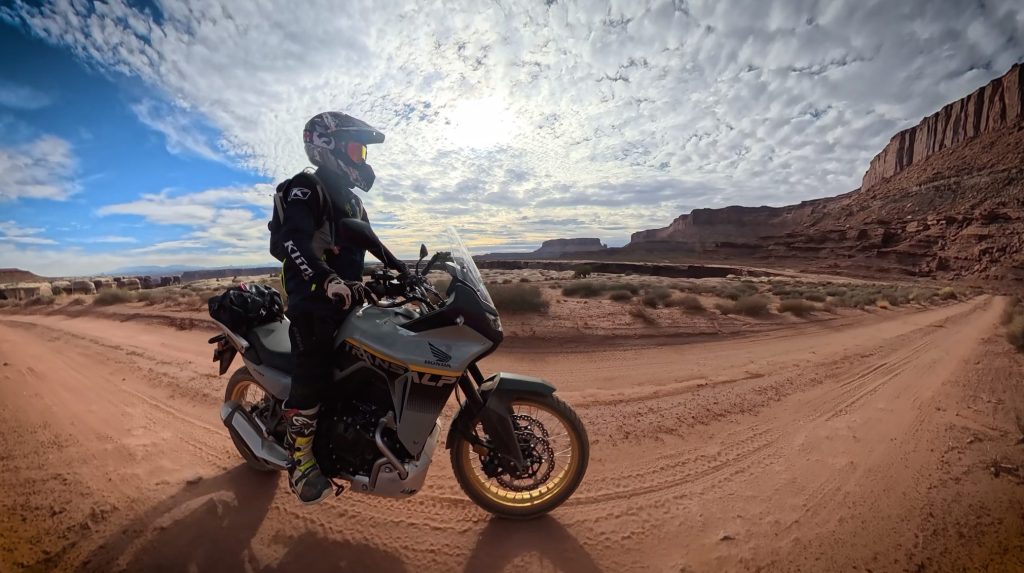
Capture a few wide shots to level up the video
POV is easy. It is also the least valuable for story clarity. Wide shots add context. They make the viewer feel location and speed. Simple wide shot methods:
- Small tripod on a fence post or rock.
- Hang a mini tripod from a branch.
- Place the camera roadside and ride past.
- Put the camera on a friend’s bike for follow and lead shots.
- Use two sticks for a higher fake drone angle if safe and controlled.
You do not need dozens. You need a handful placed at key story moments.
Keep camera settings simple
YouTube compresses everything. Do not chase perfection. A practical default:
- Shoot in auto most of the time.
- Use higher frame rates only when you want slow motion.
- Prioritize exposure and dynamic range over max frame rate.
Frame rate guidance:
- Use 24 or 30 fps for most footage.
- Use 60 fps or higher only for slow motion.
Remember the tradeoffs
- More fps means bigger files.
- Higher bitrate codecs mean heavier editing.
- Heavier workflows create more friction. Friction kills consistency.
Reframe 360 footage so it looks normal
Use reframing and keyframes.
- Set horizon level.
- Choose camera angle.
- Adjust zoom and distortion.
- Lock those choices with keyframes.
This turns one 360 clip into multiple usable angles.
Edit the story the fast way
Use this order:
- Build the timeline from audio.
- Cut to the story beats.
- Add visuals that match each beat.
- Add wide shots to reset the viewer’s sense of place.
- Use POV as connective tissue, not the whole meal.
Avoid filming without a plan and trying to find the story later. That approach creates massive edit time.
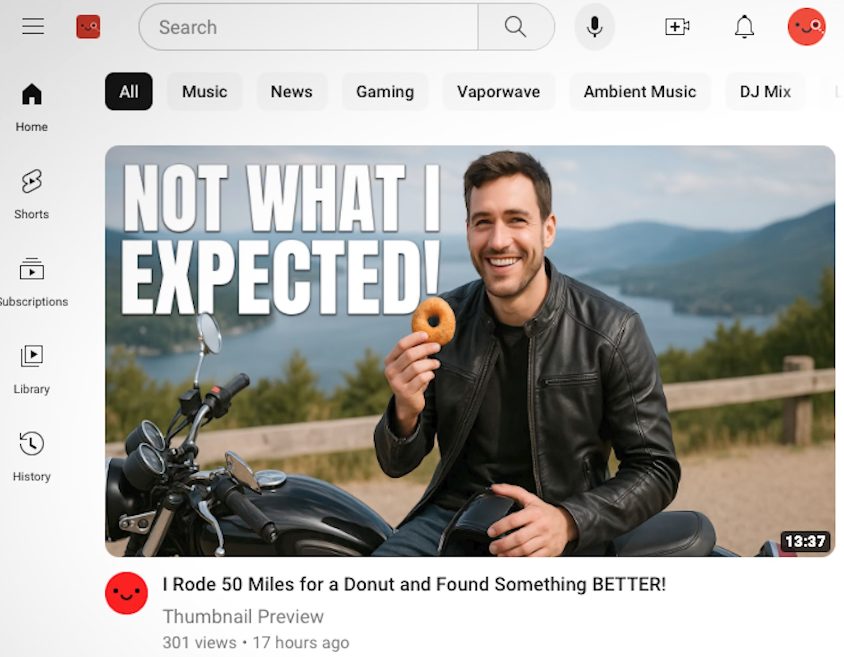
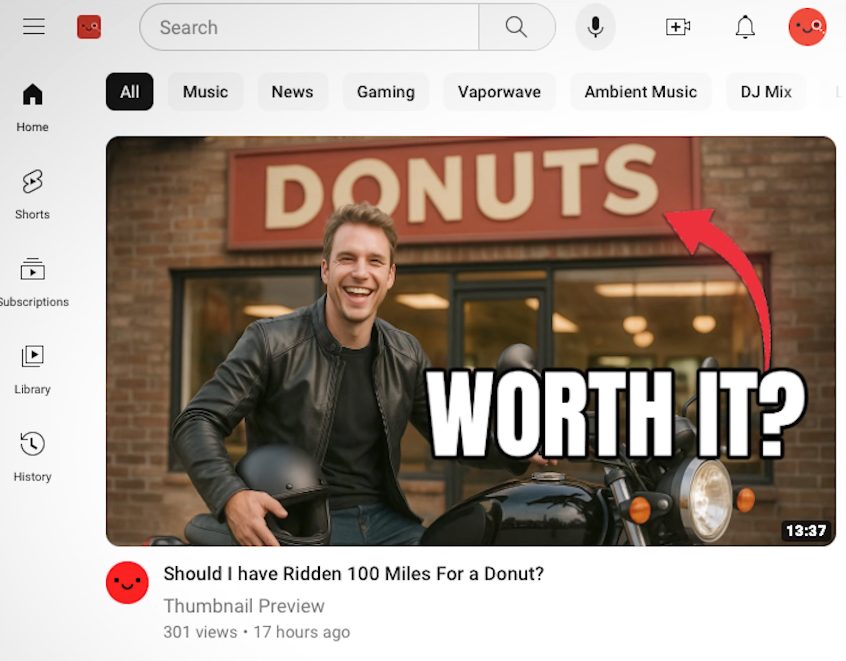
Package the video with clarity plus curiosity
Use a clean thumbnail. Use a clear title. Add curiosity without giving away the ending. Thumbnail guidelines:
- Use a simple image.
- Use a clean background.
- Complement the title, do not repeat it.
Title guidelines:
- Create a question in the viewer’s mind.
- Avoid vague wording.
- Avoid spoilers.
Examples:
Improve by publishing, not by comparing
Do not compare yourself to giant channels with teams. Use one standard:
Make each upload better than the last one.
Practice is the only path. The same rule applied when you learned to ride.
Quick checklist for your next ride shoot
- Pick a mission with a deadline.
- Film only story changing moments.
- Stop recording after each moment.
- Capture clean voice audio.
- Get at least three wide shots.
- Keep settings simple.
- Edit audio first.
- Title for clarity plus curiosity.
Stop consuming. Start creating.